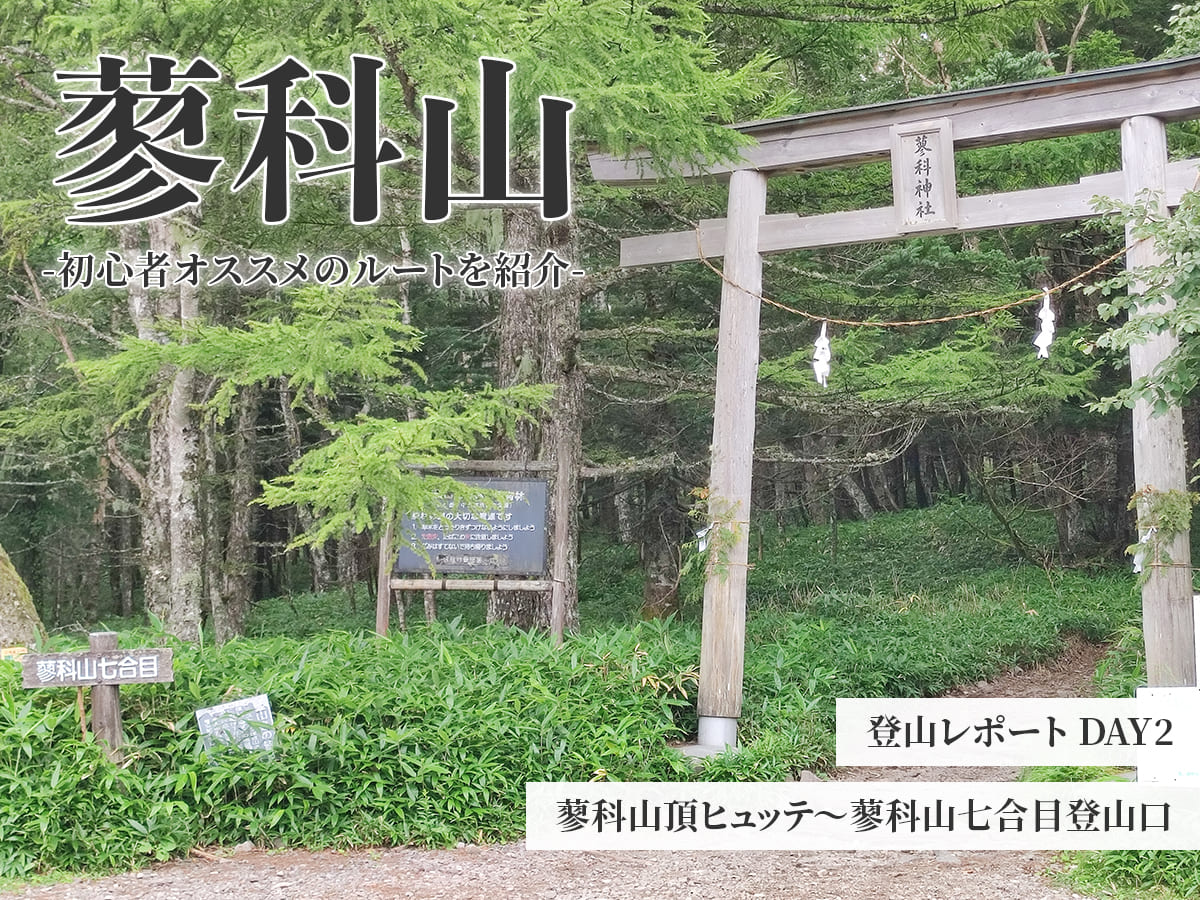
今回のブログ記事では、蓼科山登山2日目の登山レポートをお送りします!
歩いたのは、蓼科山で一番人気のある「七合目登山口ルート」です。
距離とコースタイムが短く、途中で休憩できる場所もあるので、初心者にオススメできるルートでした。
本記事の情報は2022年8月時点のものを記載しています
目次
【登山レポート】蓼科山頂ヒュッテ(蓼科山)~ 七合目登山口
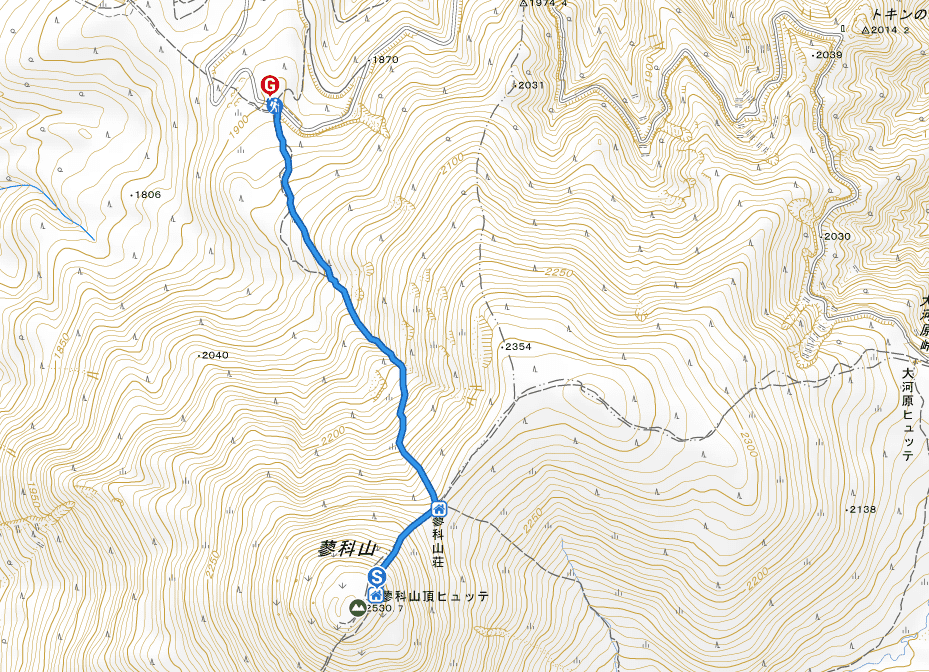
蓼科山頂ヒュッテ→ 七合目登山口ルートの概要
 トラック | YAMAP活動データ
距離と標高差 | YAMAP活動データ
トラック | YAMAP活動データ
距離と標高差 | YAMAP活動データ
ルートの概要
ルート:蓼科山頂ヒュッテ(蓼科山) → 将軍平 → 蓼科山七合目登山口
コースタイム:約1時間30分※下り
距離:約2.5km※片道
標高差:約630m
トイレ:七合目登山口、蓼科山荘、蓼科山頂ヒュッテ
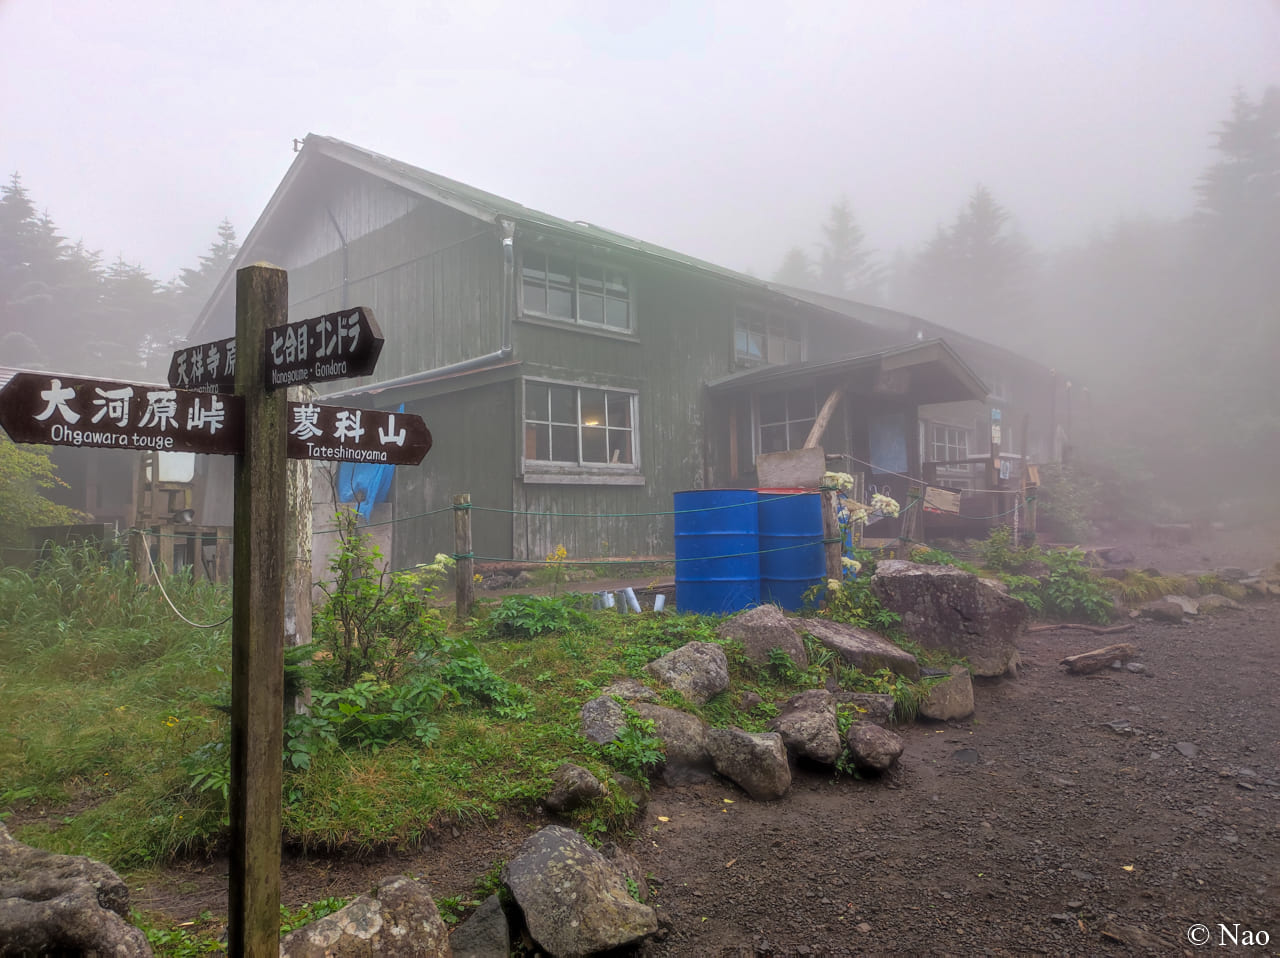
蓼科山頂ヒュッテ → 将軍平(蓼科山荘)
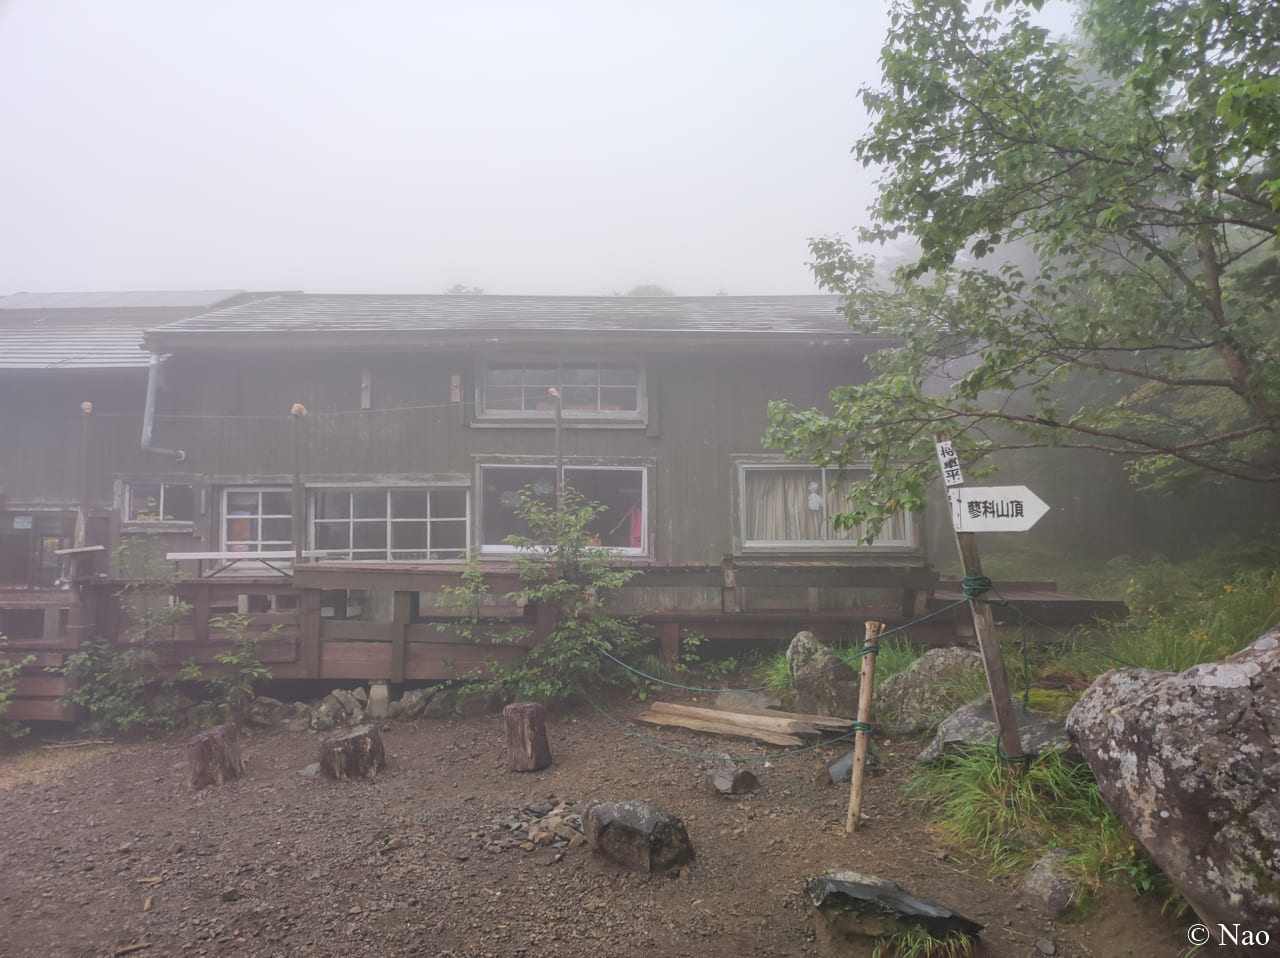
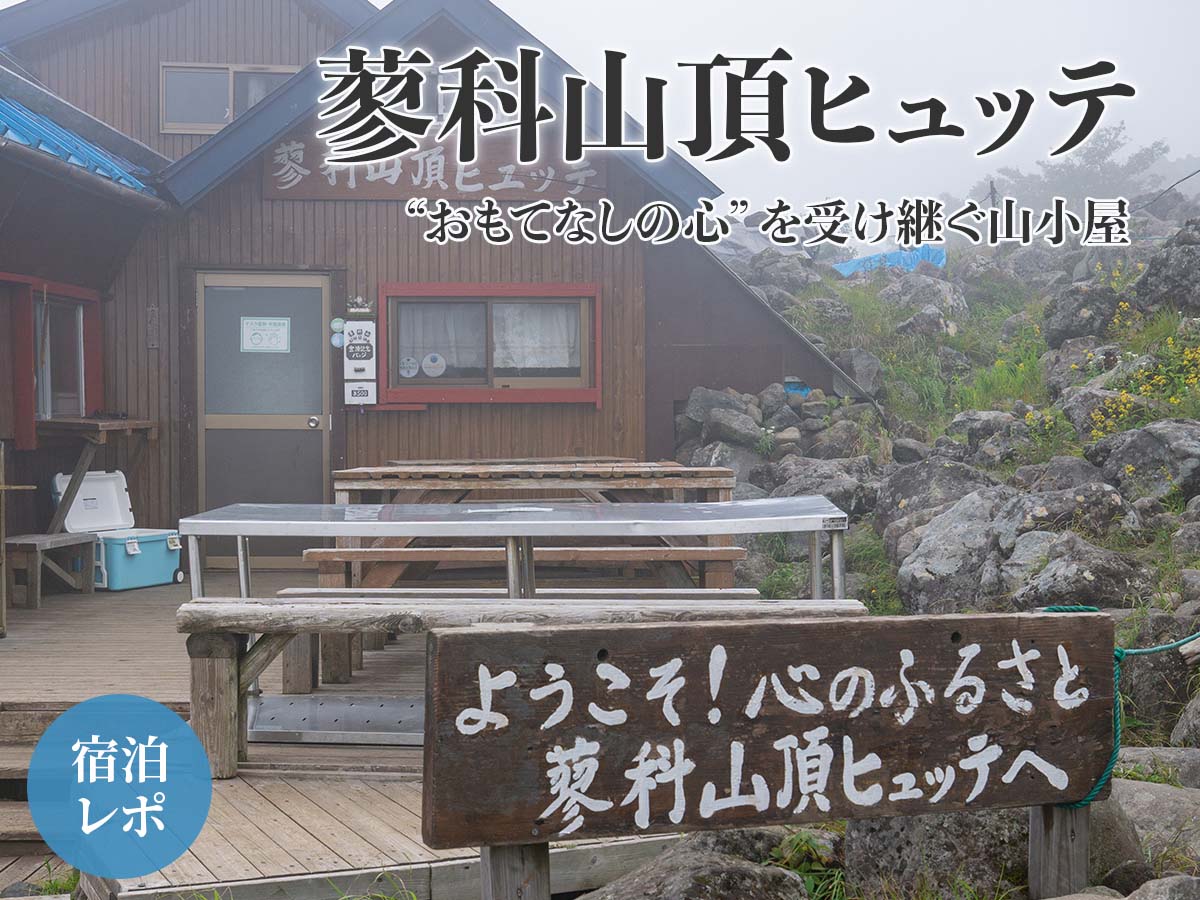
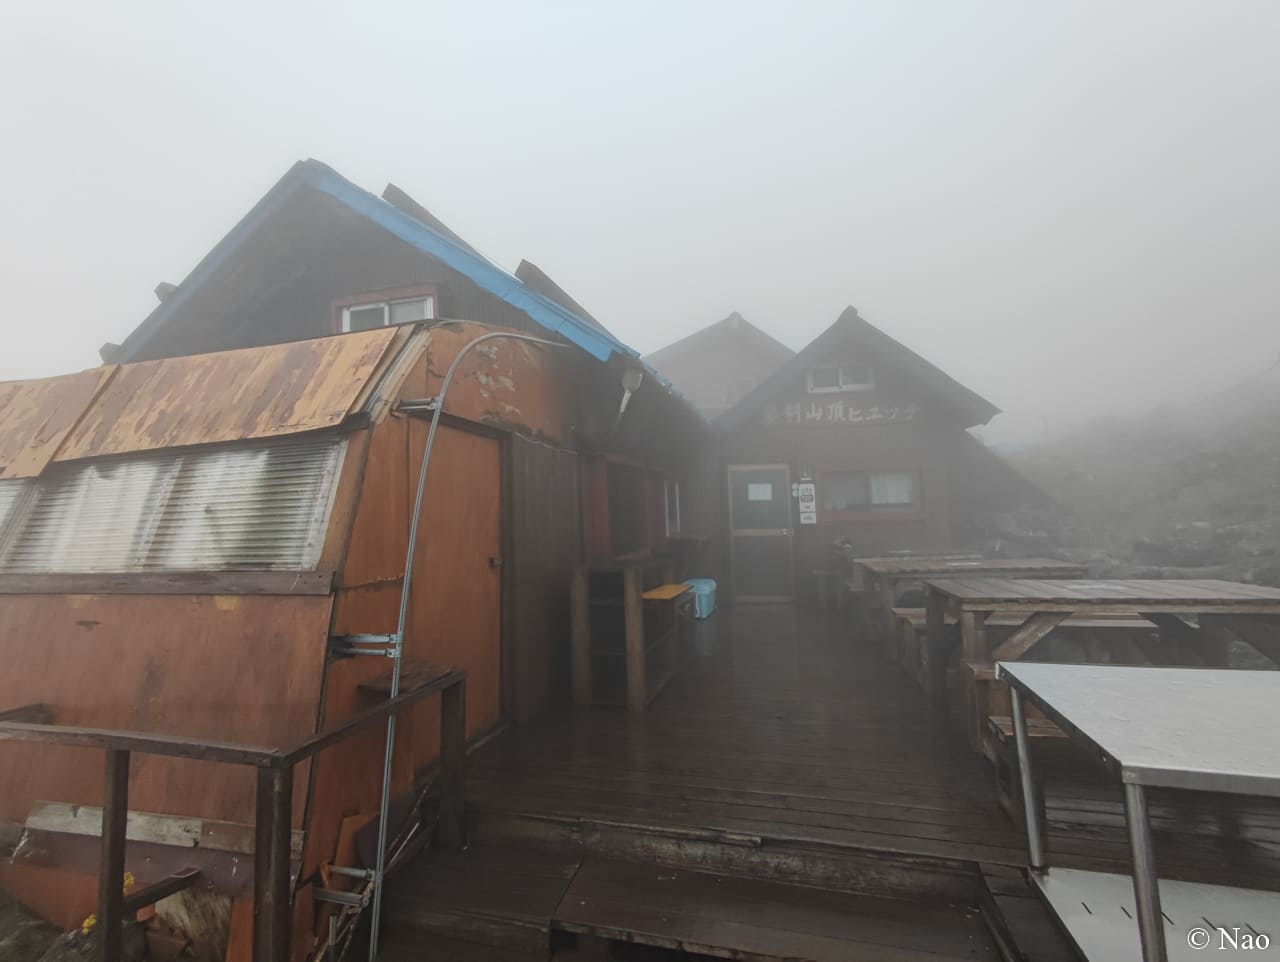
一晩お世話になった蓼科山頂ヒュッテともこれでお別れ。
2日目は山頂から七合目登山口まで下るのみだったので、朝はゆっくりと7:00頃に小屋を出ました。
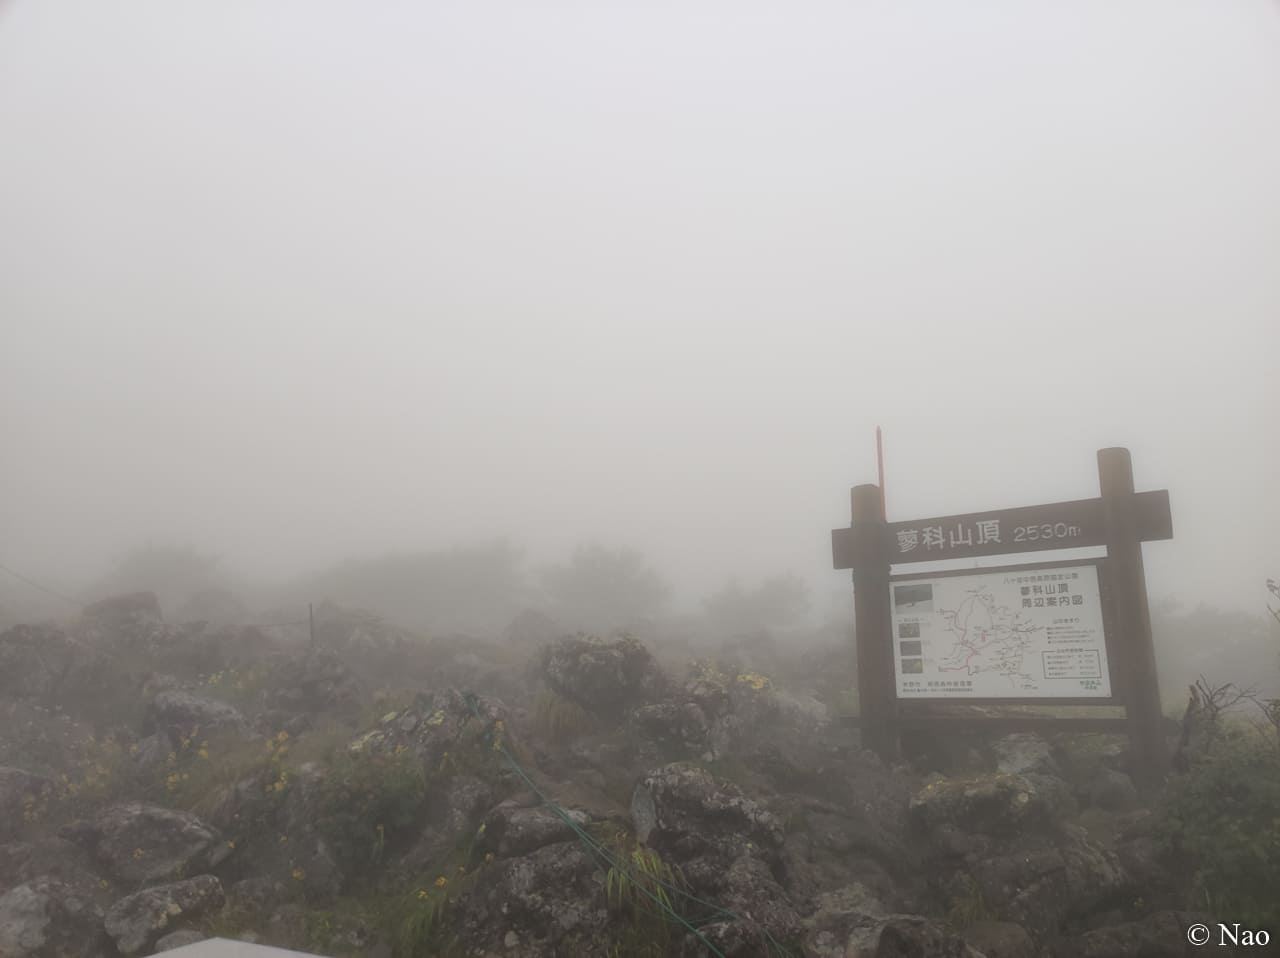
なーんにも見えんかった蓼科山山頂にも別れを告げます(笑)
このとき、霧雨が降っていたのでレインウェア、スパッツ、ザックカバーを着用していました。
¥42,587 (2026/06/30 06:49時点 | Amazon調べ)
ポチップ
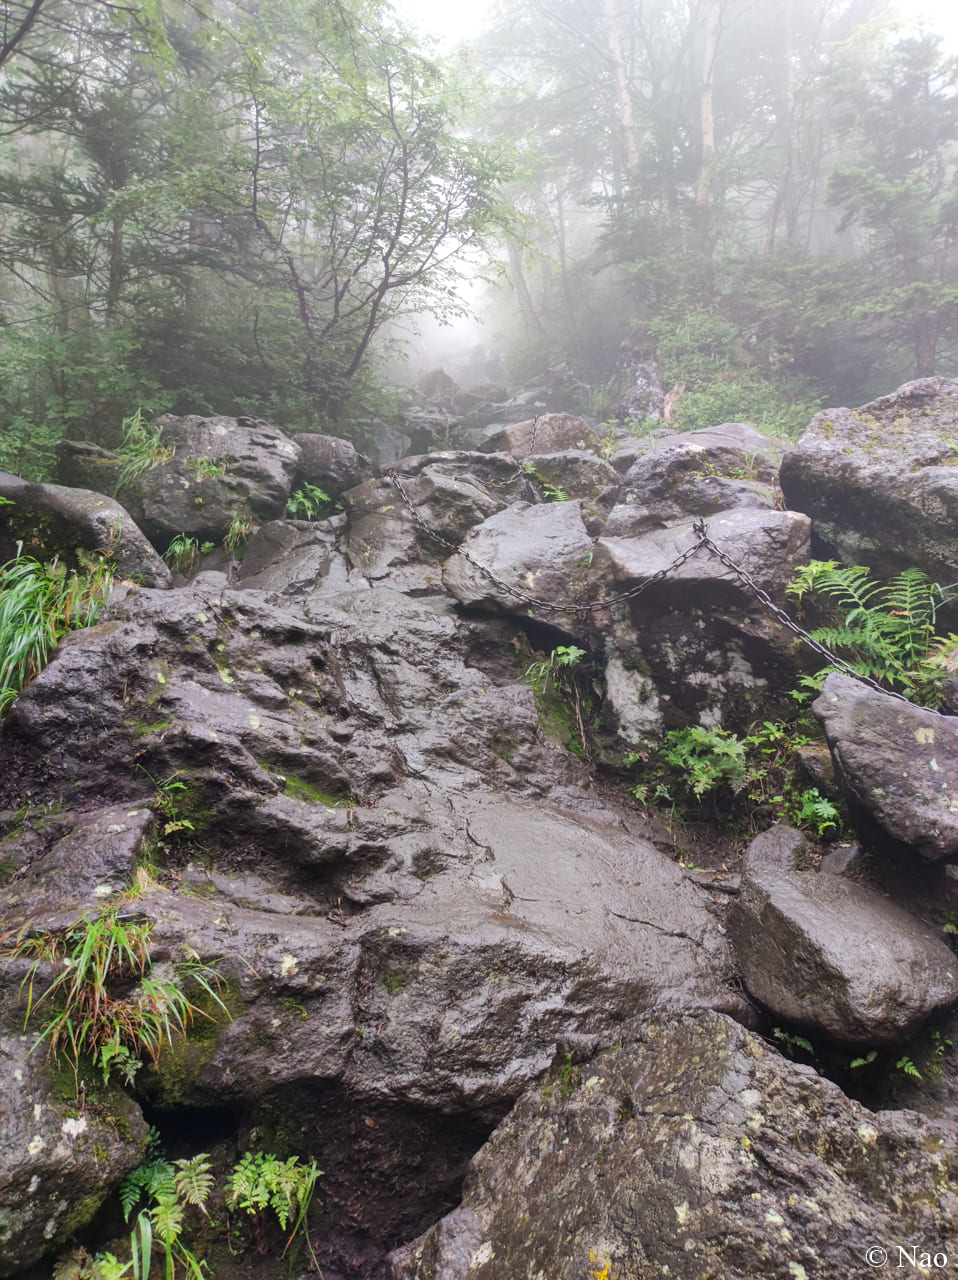
蓼科山の山頂付近では、どのルートでも “岩場” を歩くことになります。
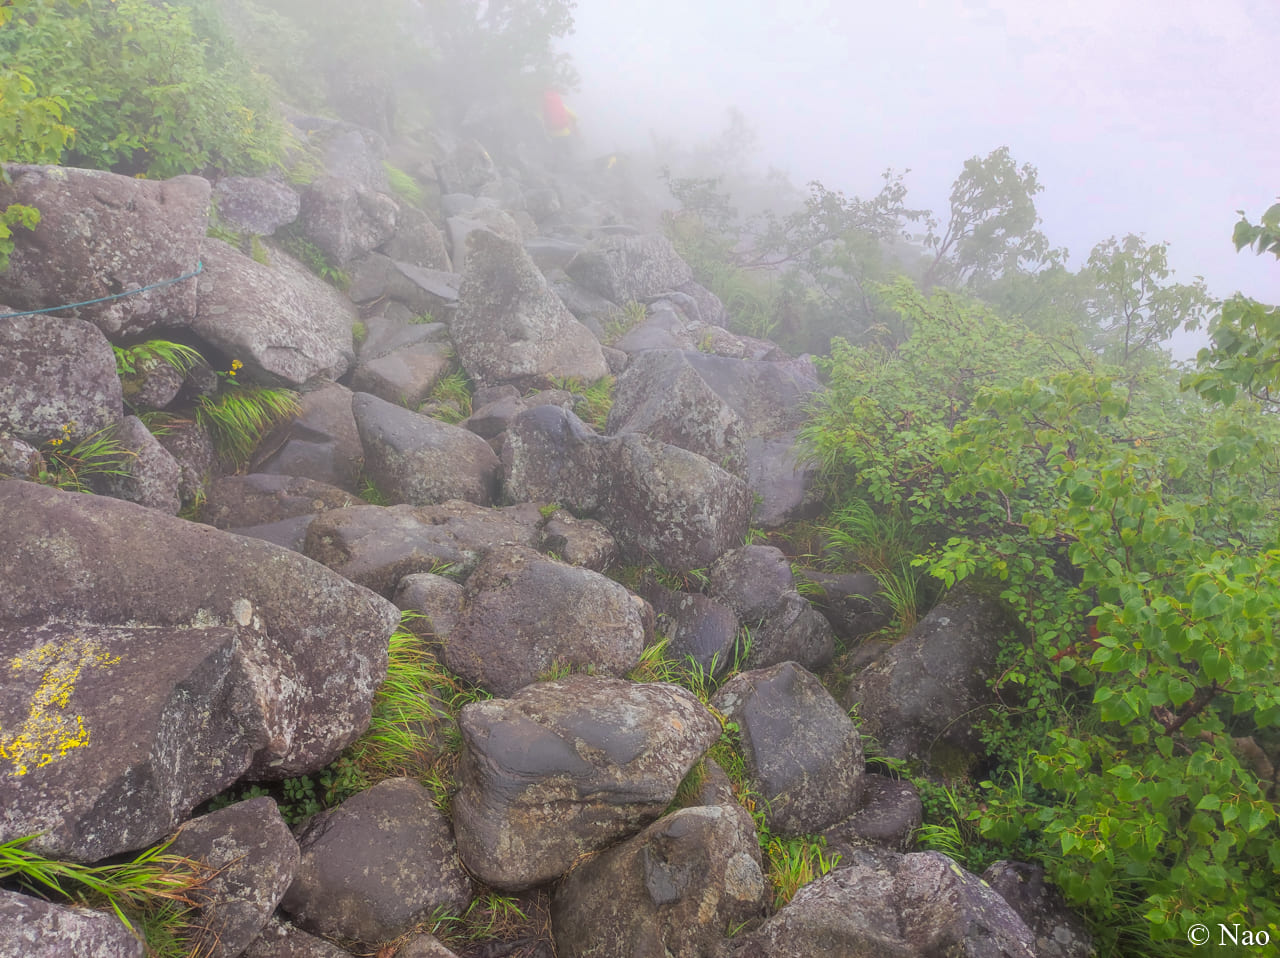
雨で岩が濡れているので慎重に・・・。
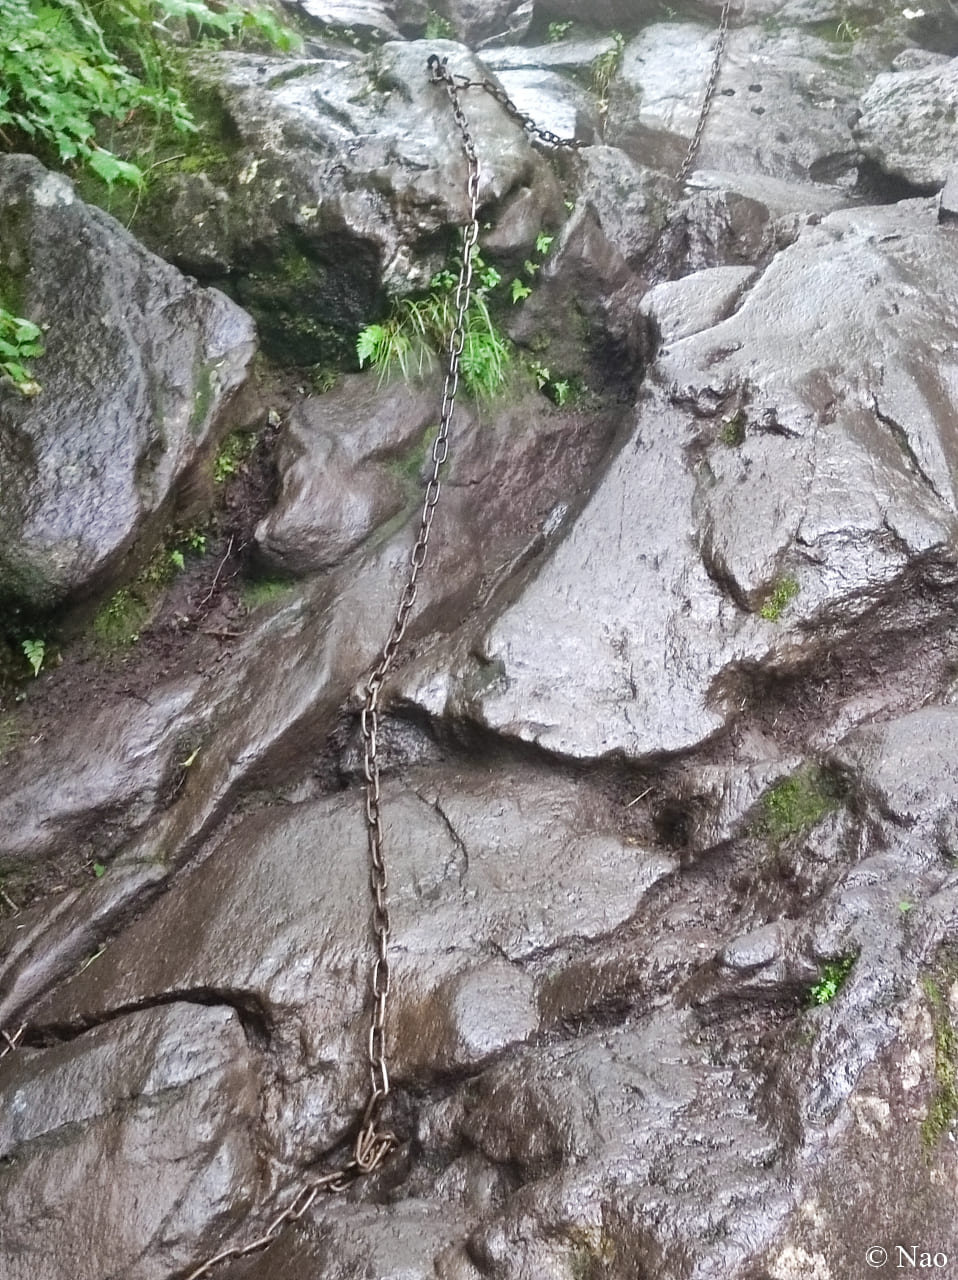
小屋を出てから20分ぐらいで鎖場が出てきました。
振り返ってみるとかなりの急登(汗)
正直、鎖は使わずに両手をガシガシと使ったほうが登りやすそうな感じでした。
なので、蓼科山登山口ルートの時と同様に “手袋” はあったほうがいいです。
ポチップ
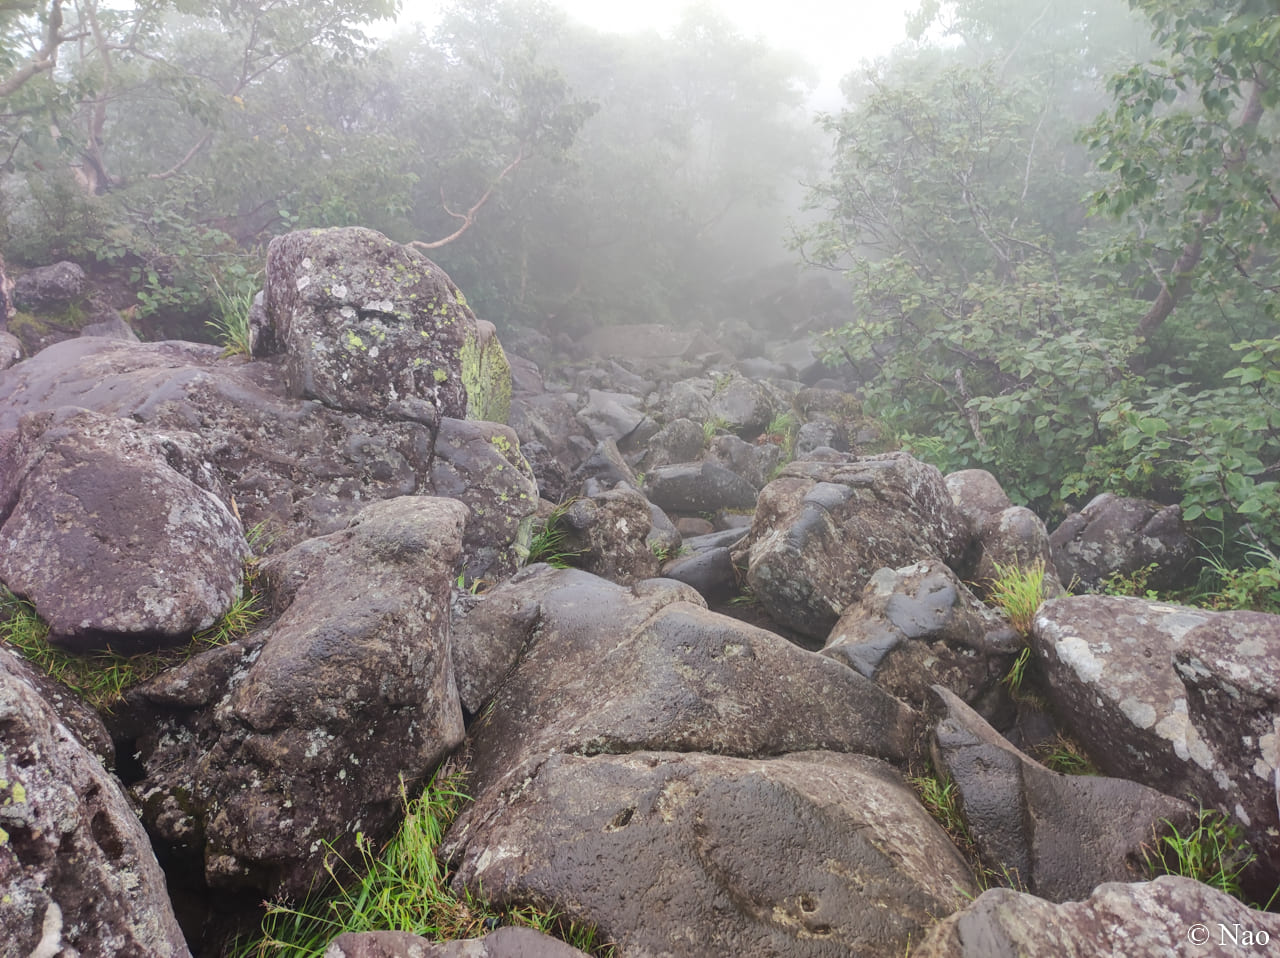
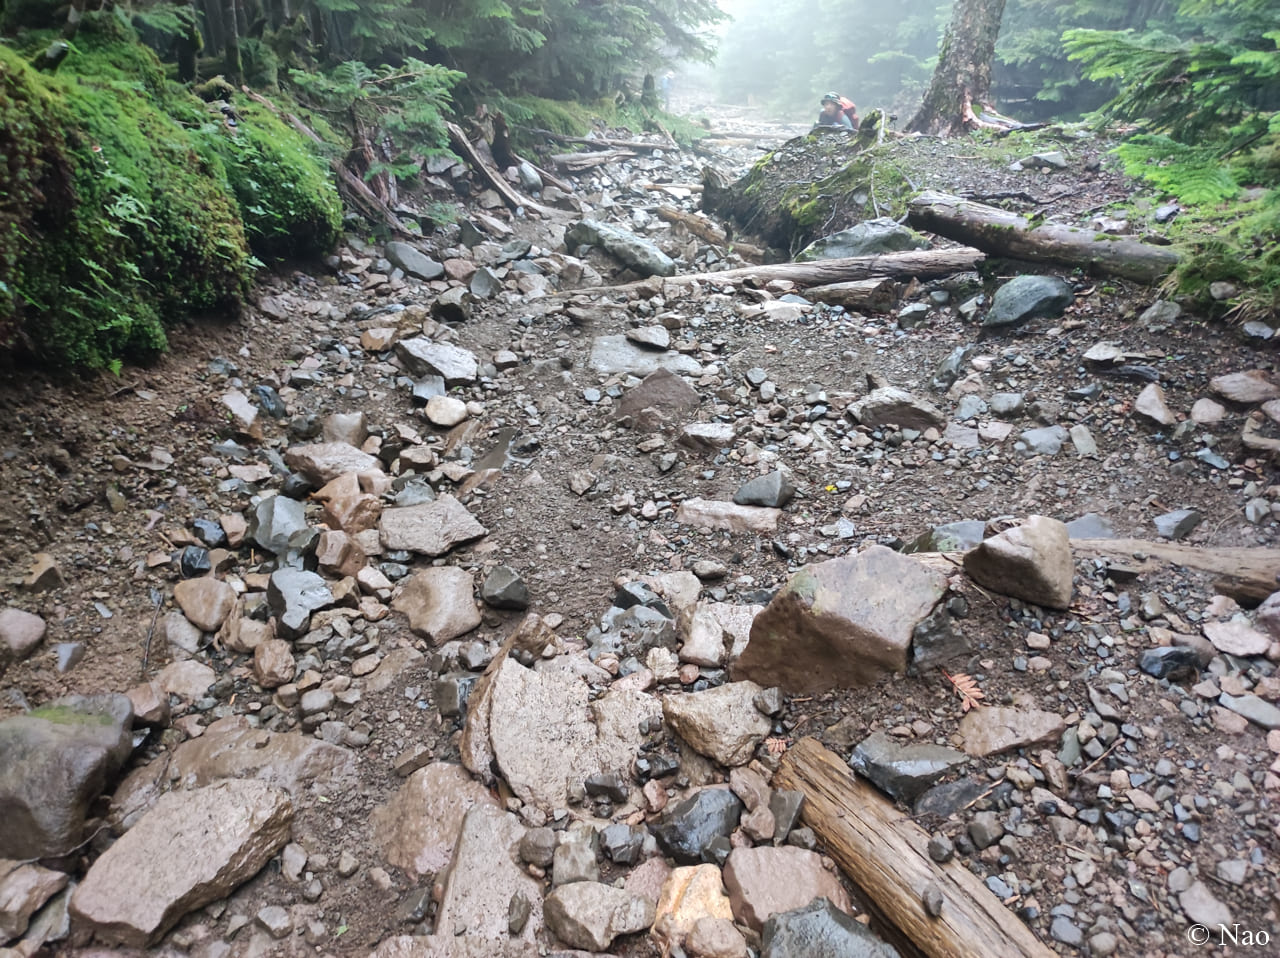
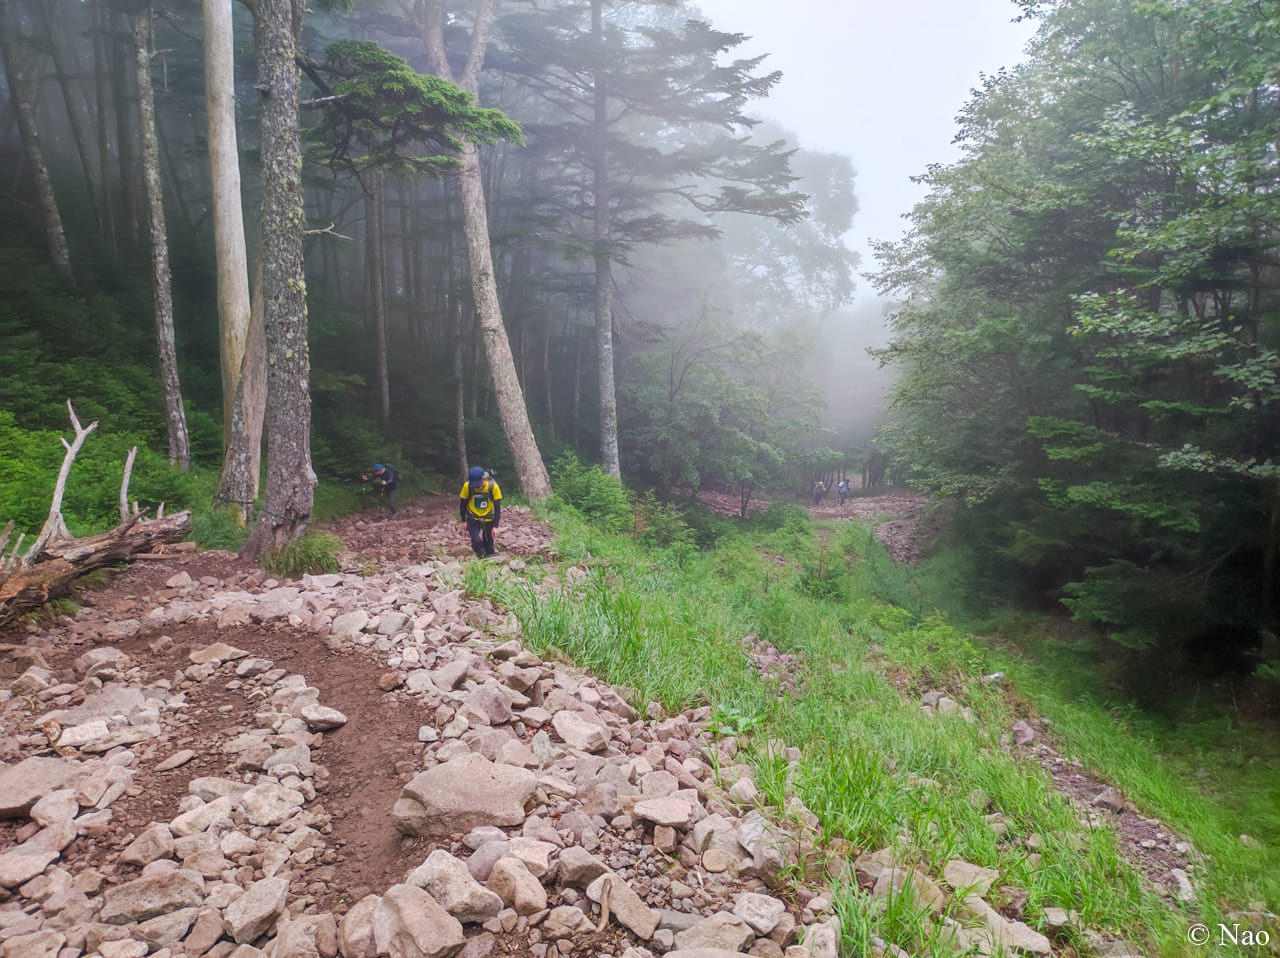
将軍平まで大きめのゴロゴロとした岩が続く道を下ります。
蓼科山頂ヒュッテを出てから約40分で将軍平に到着!
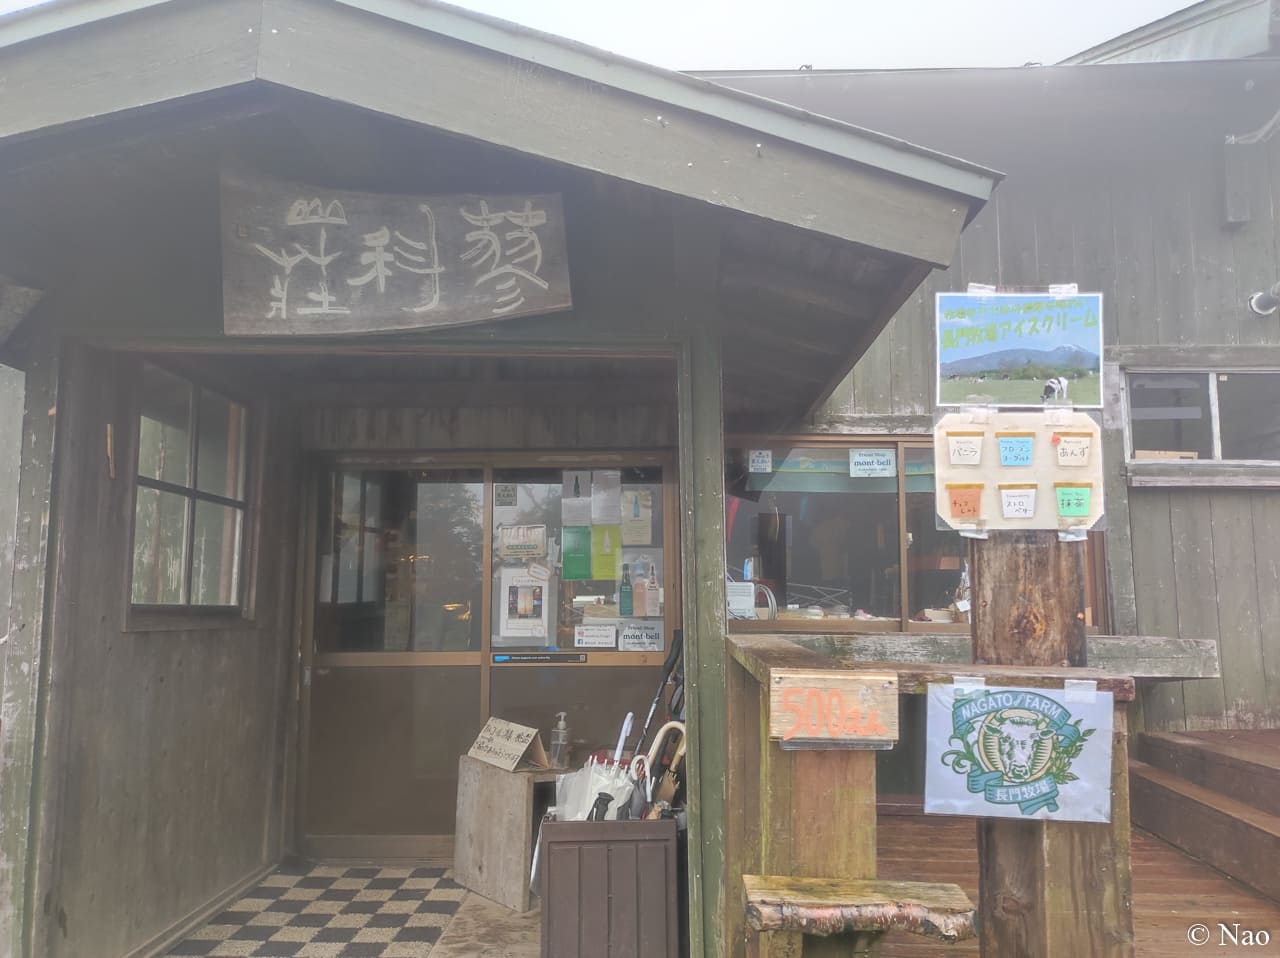
ここには蓼科山荘という山小屋があります。
蓼科山荘にはトイレがありますし、軽食を注文することもできます。
休憩にはもってこいの場所ですね。
そして、将軍平は色んな道の分岐点。
ここから大河原峠、天祥寺原方面に抜けることもできます。
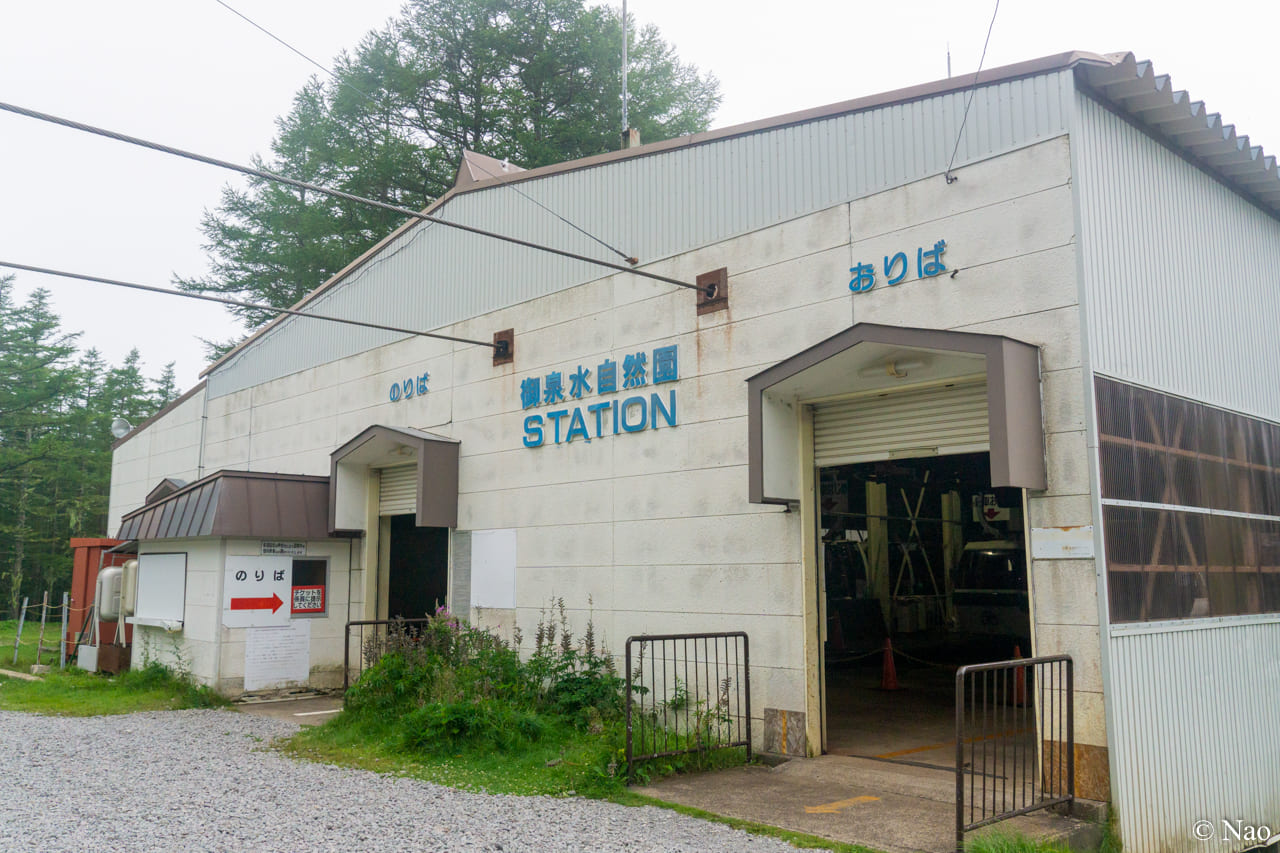
今回は「七合目・ゴンドラ」の方面へむかいます。
将軍平(蓼科山荘)→ 七合目登山口
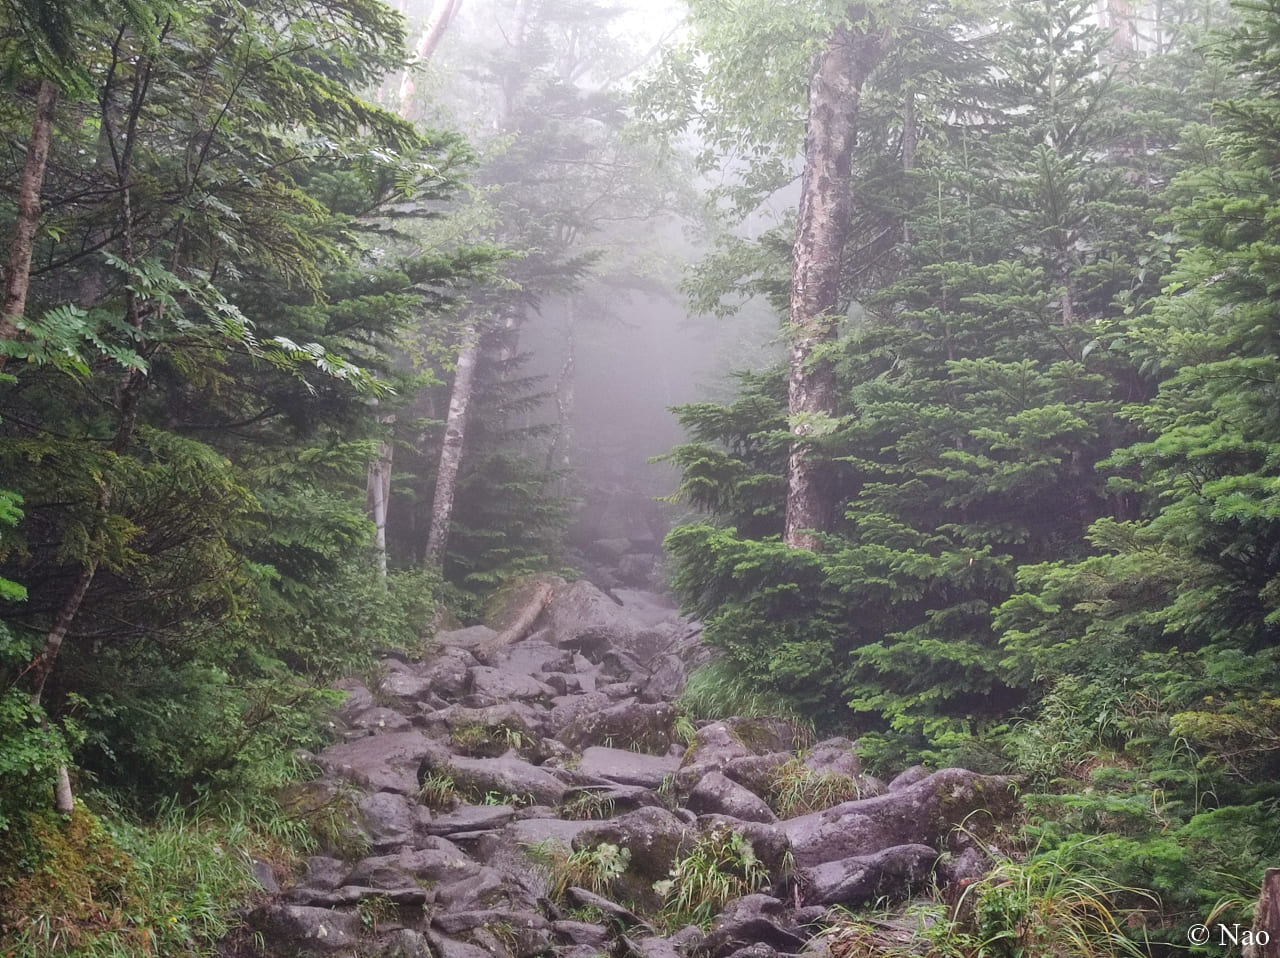
将軍平を抜けると大きな岩はなくなりますが、こんな感じの足元がガレた道が続きます。
下りなのでズルっといかないよう慎重に・・・。
この道もかなりの急登ですね。
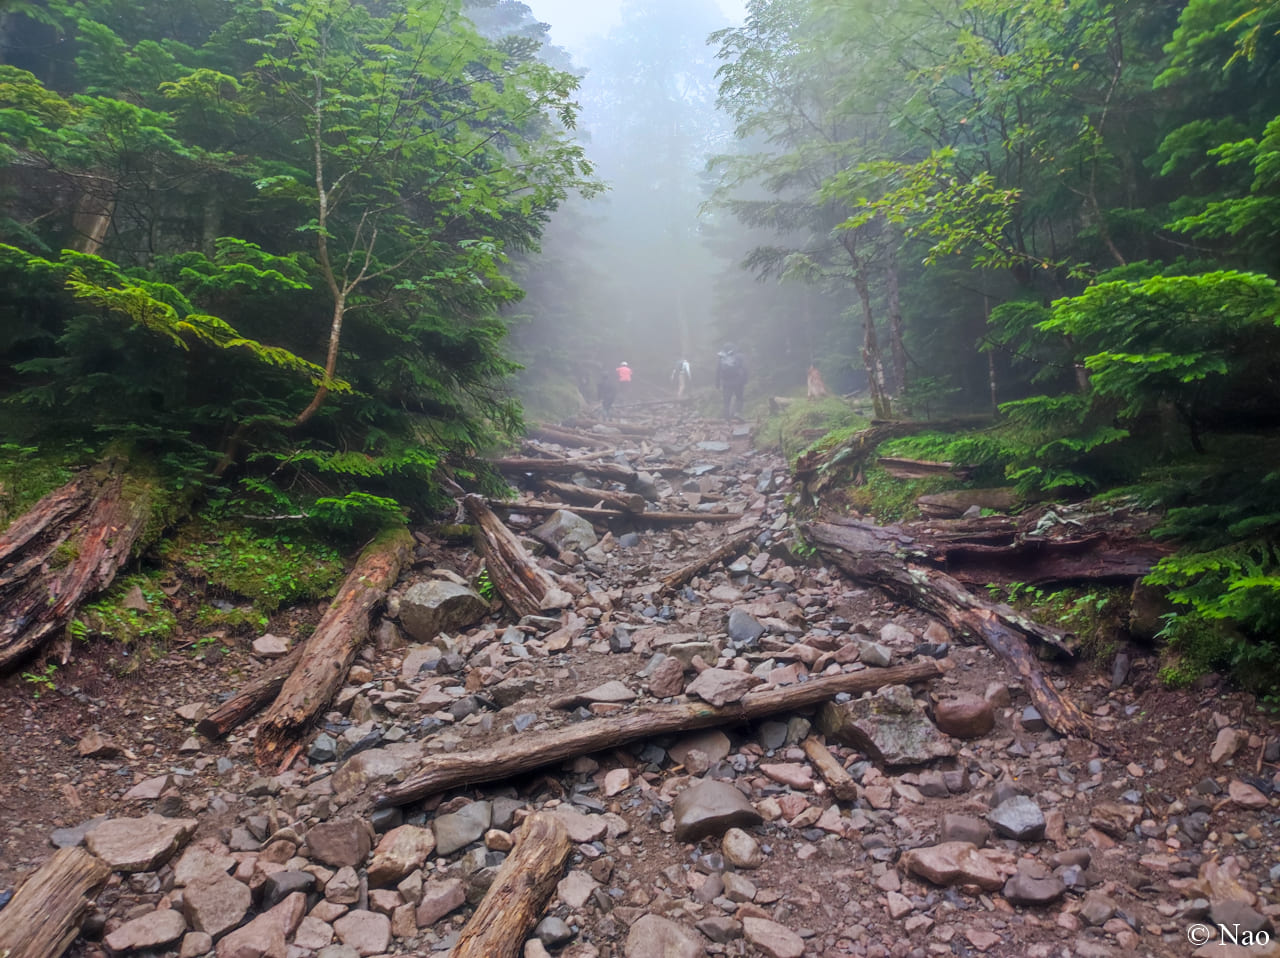
天気が悪いにも関わらず、30人以上の登りの人とすれ違いました。
夏休み期間ということもあってか、小学生ぐらいの子供と親子連れで来る人が多かったです。
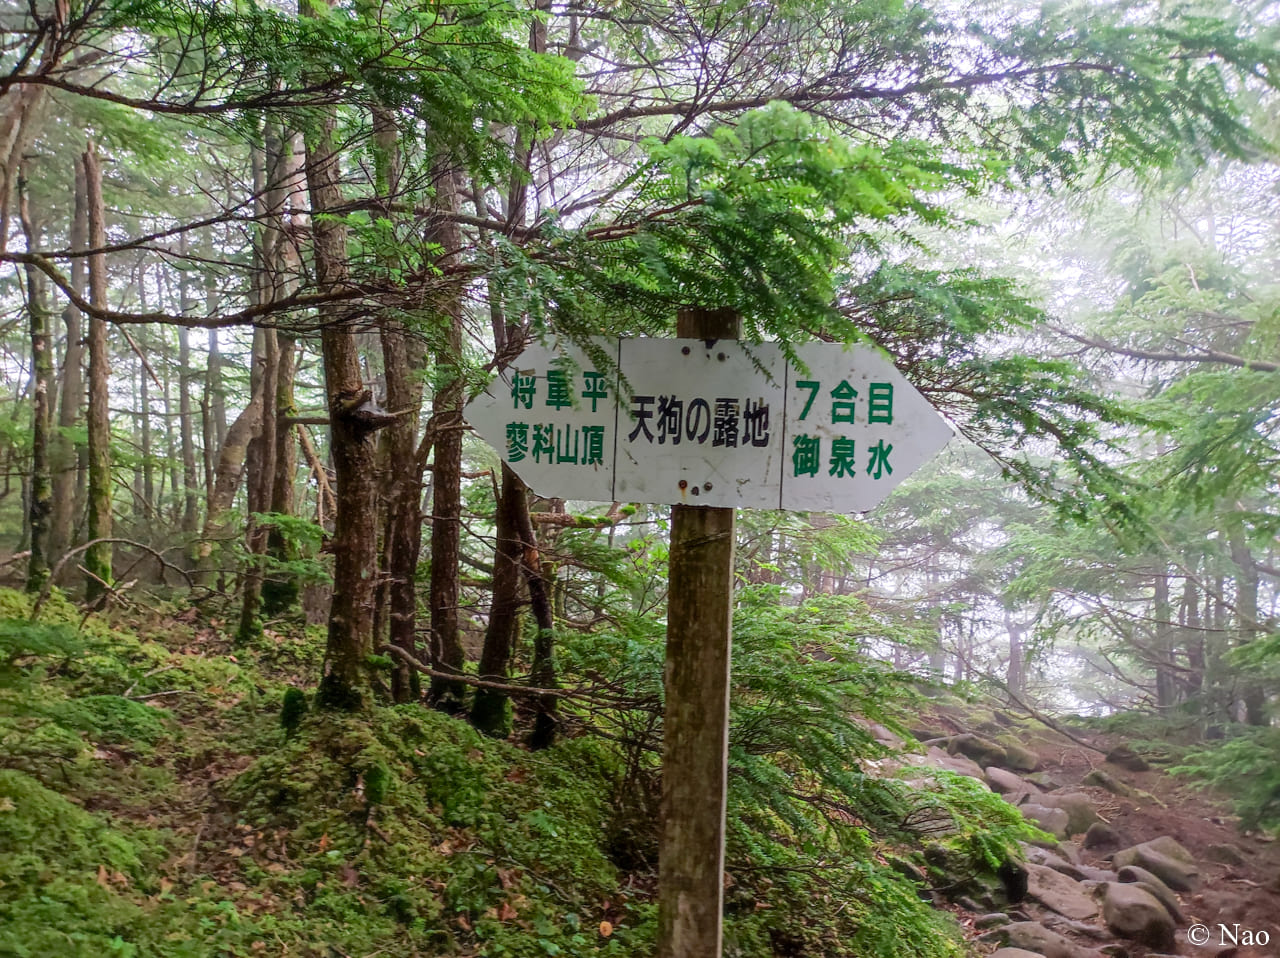
小屋から30分ほどで “天狗の露地” に到着。
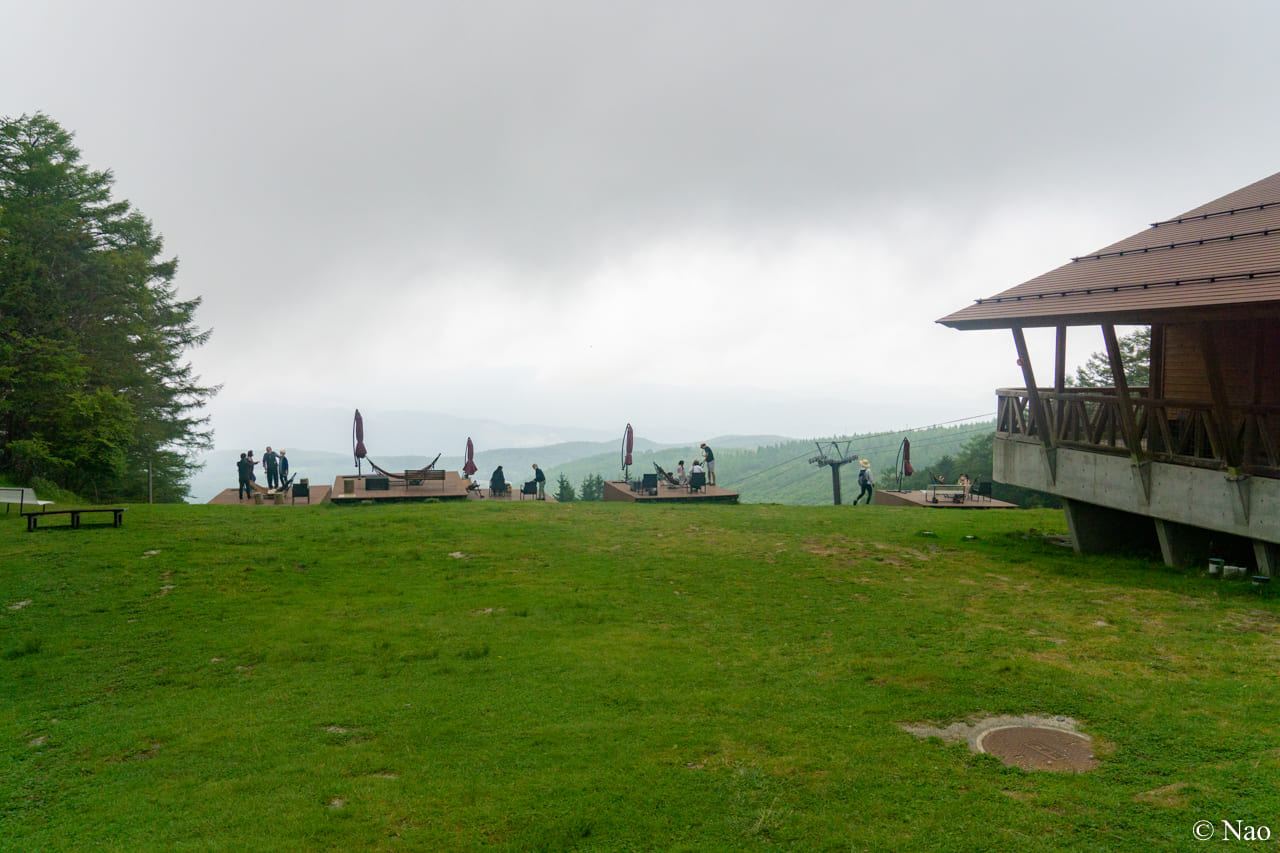
晴れていれば、ここから少し道を外れたところに展望ポイントがあって見事な景色が見られるそうです!
この日はもちろん、なんにも見えませんでした!笑
“天狗の露地” を抜けてからも黙々と下り続けます。
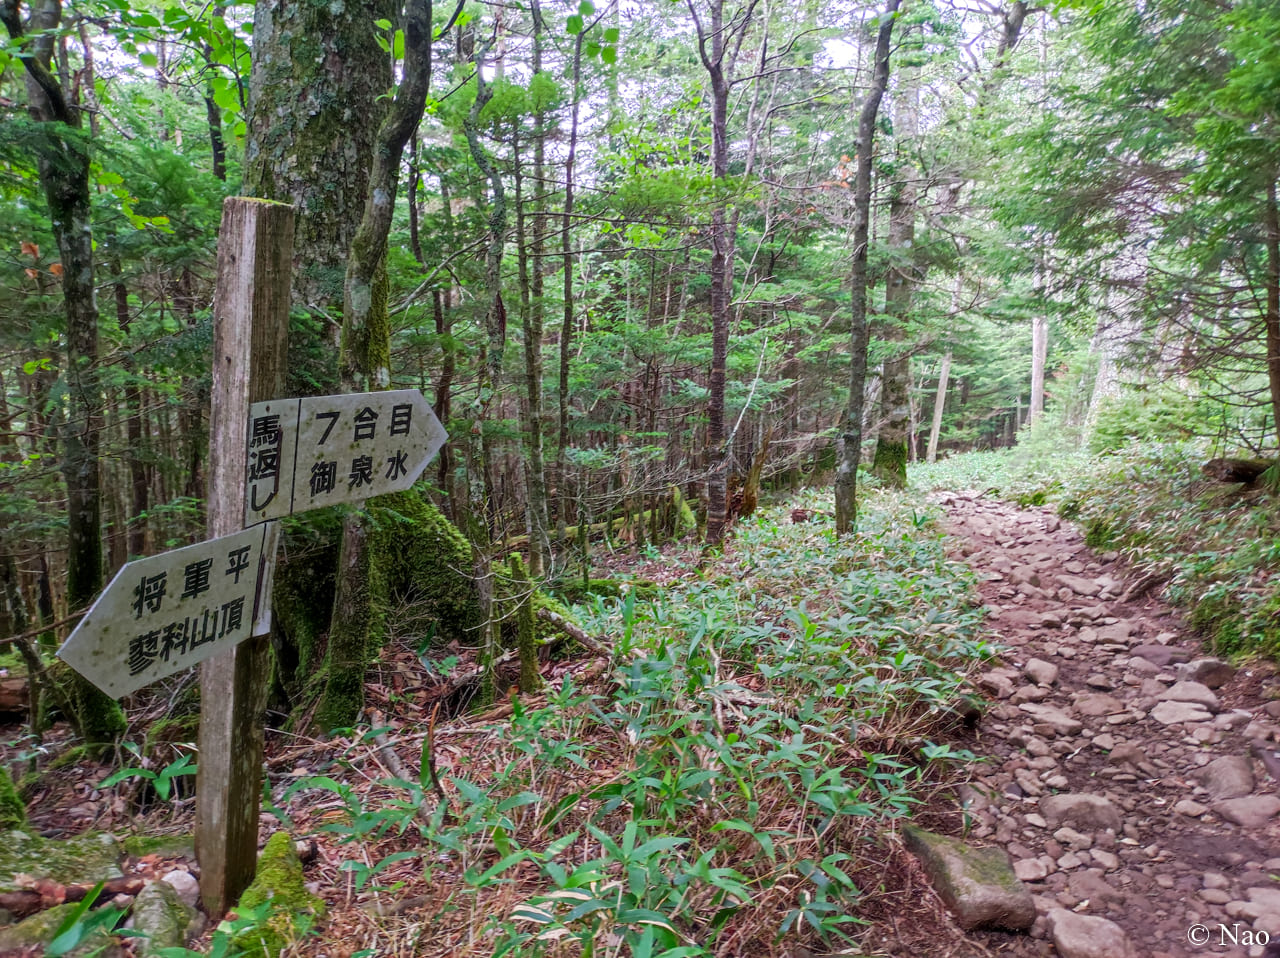
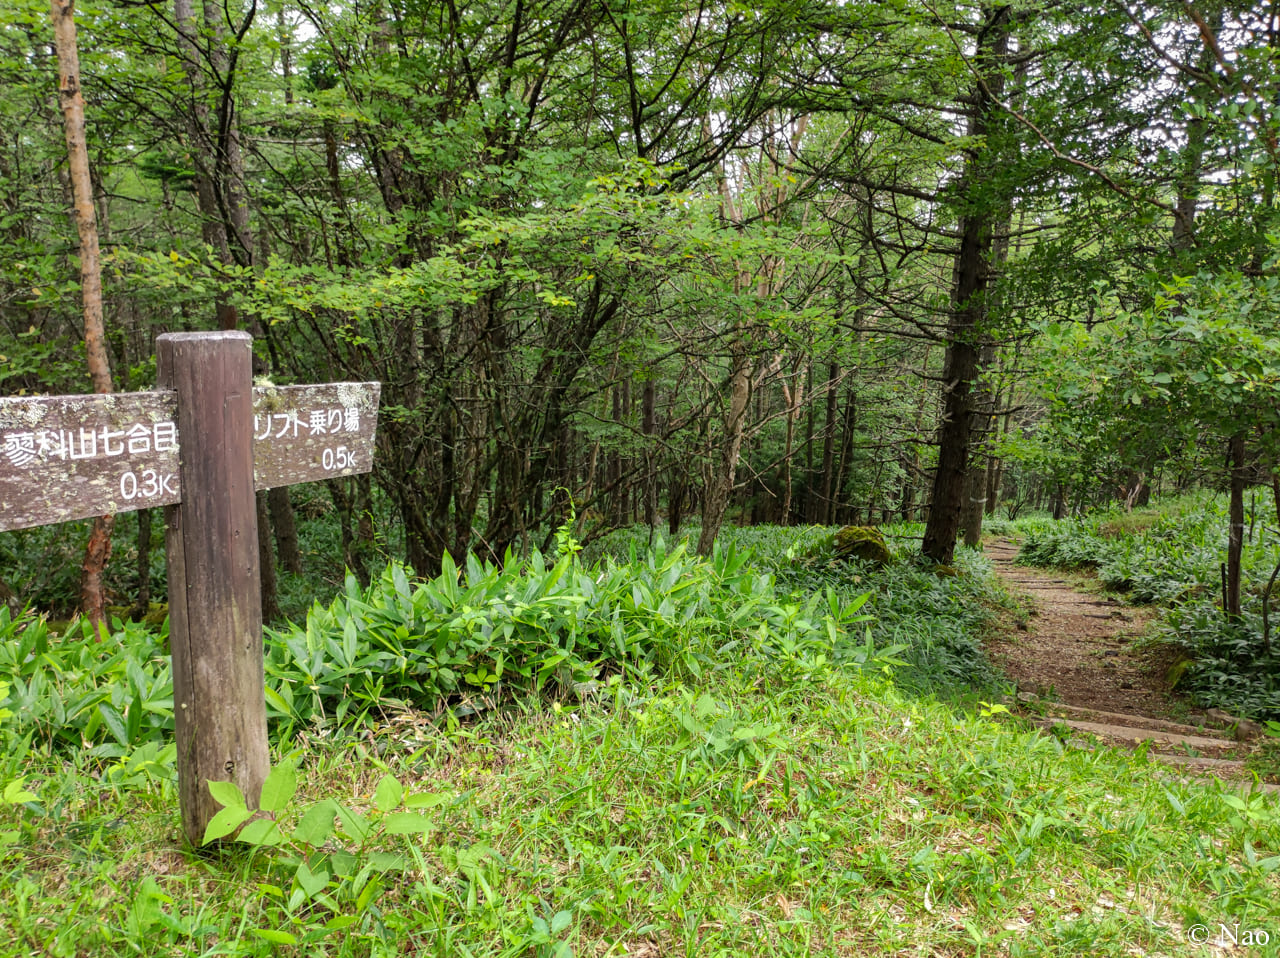
道が平坦になってきたところで、標識に “馬返し” の看板が。
ここまで来ると、登山口まではもう一息です!
馬返しの意味
この場所から “傾斜が急になって馬が登れずに引き返す” ということから付けられた名前なのだそう。
実際に登りの場合は “馬返し” あたりから急登になるので納得です。
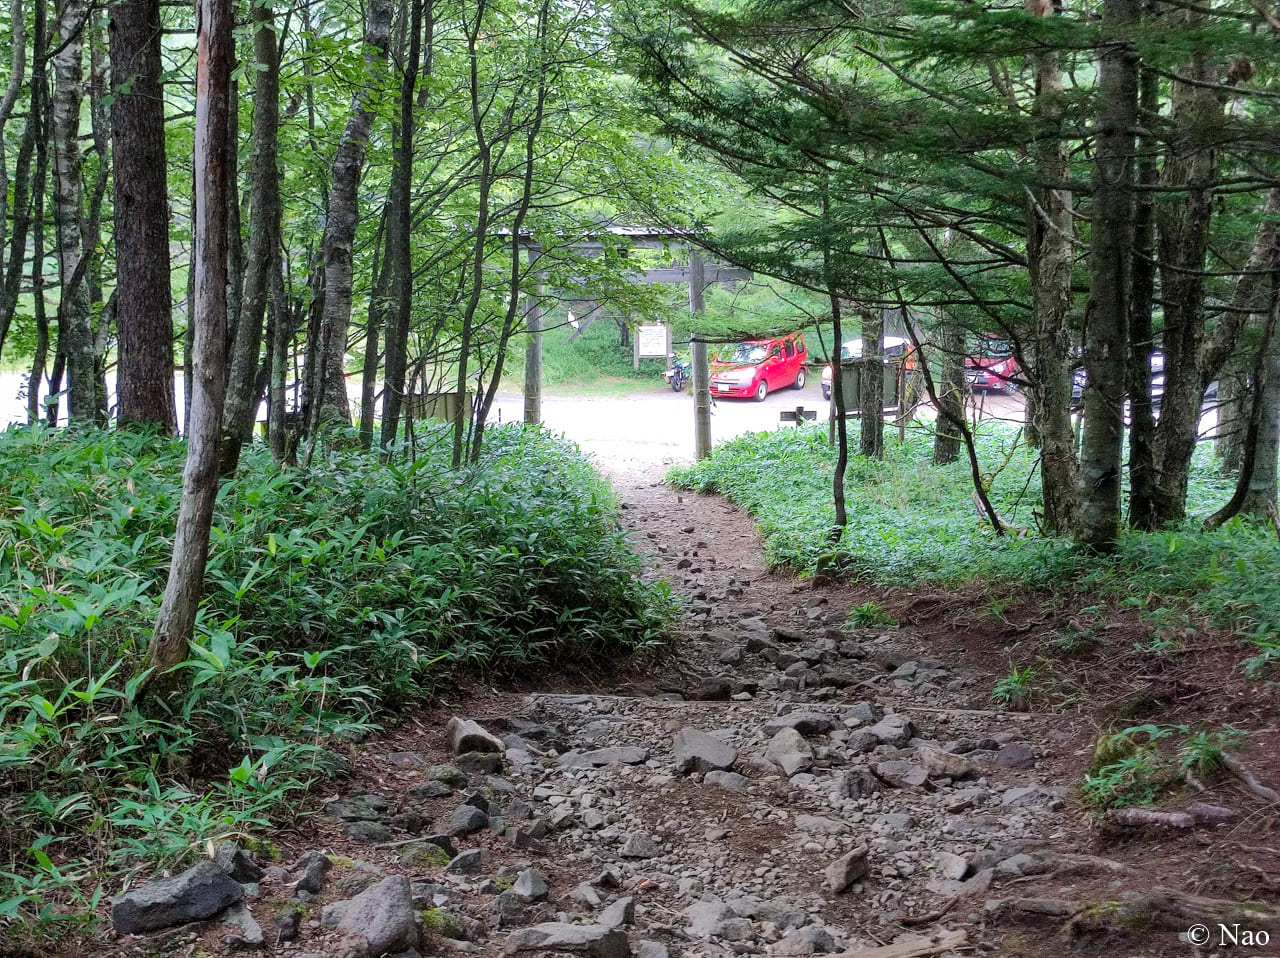
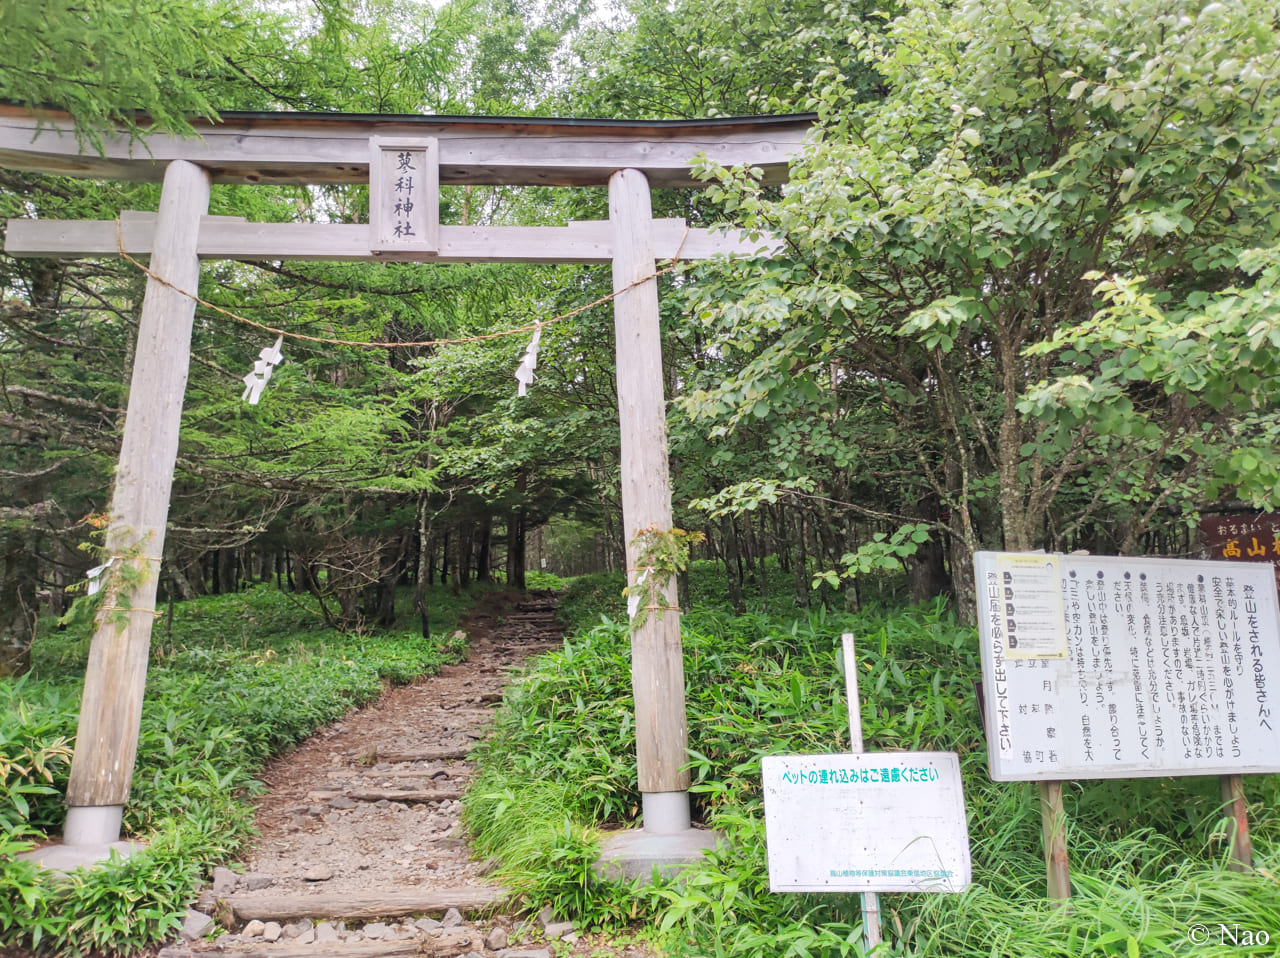
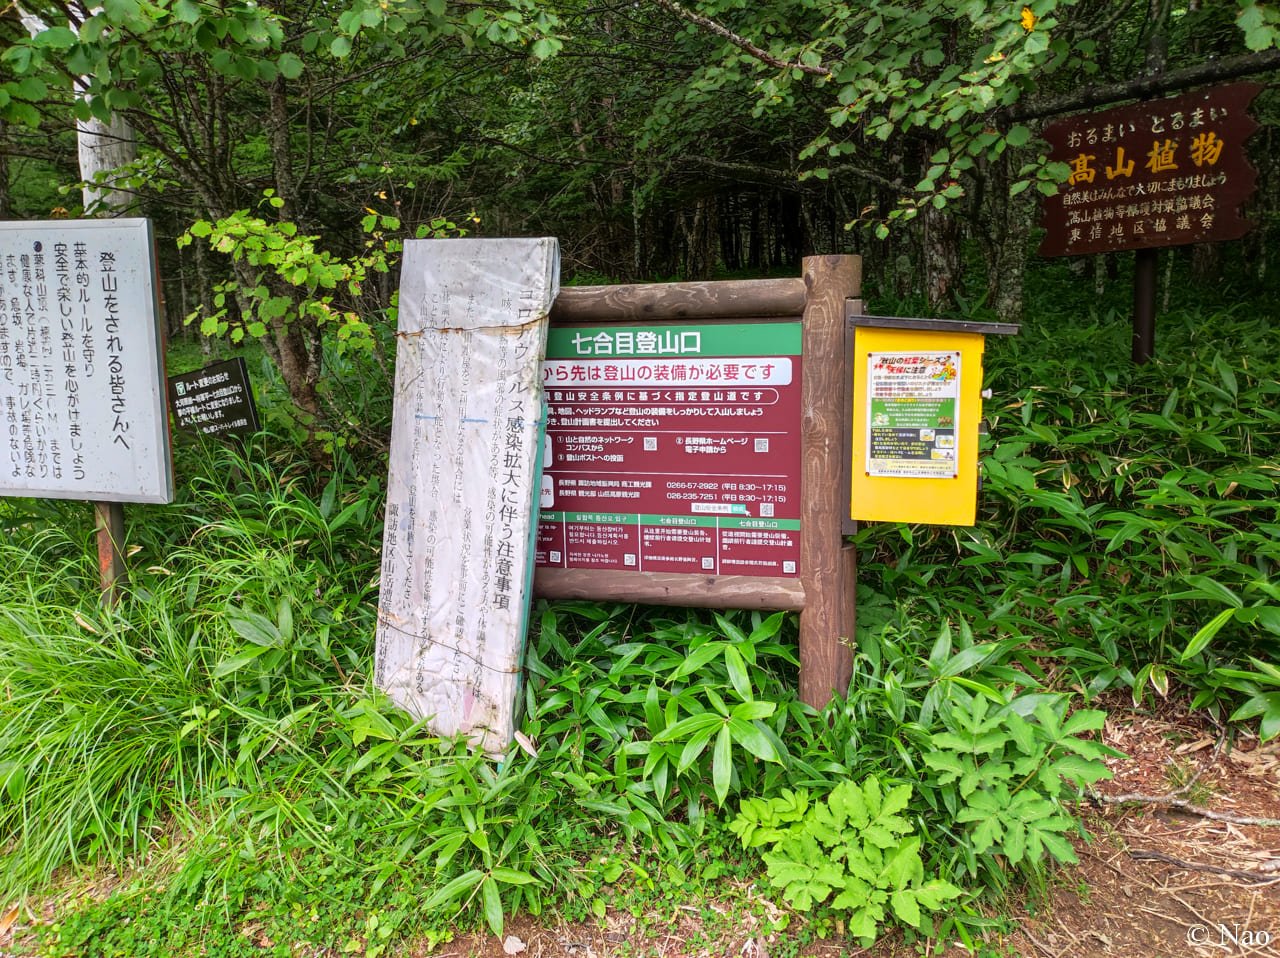
“馬返し” から約10分ほどで、鳥居が見えてきました!
無事、七合目登山口に下山!
所要時間は蓼科山頂ヒュッテから約1時間30分。ほぼコースタイム通りですね。
この七合目登山口からピストンで登るのが、蓼科山では一番人気のルートになります。
登山道はしっかりと整備されていますし、七合目に登山口があるのでコースタイムも標高差も短め。
その割に急登や岩場があって “ちゃんと登山したぞ!” という気分になれます。
実際に歩いてみて、「たしかに、初心者にオススメできるコースやなぁ」と思いました。
(今回は下りしか歩いていませが)
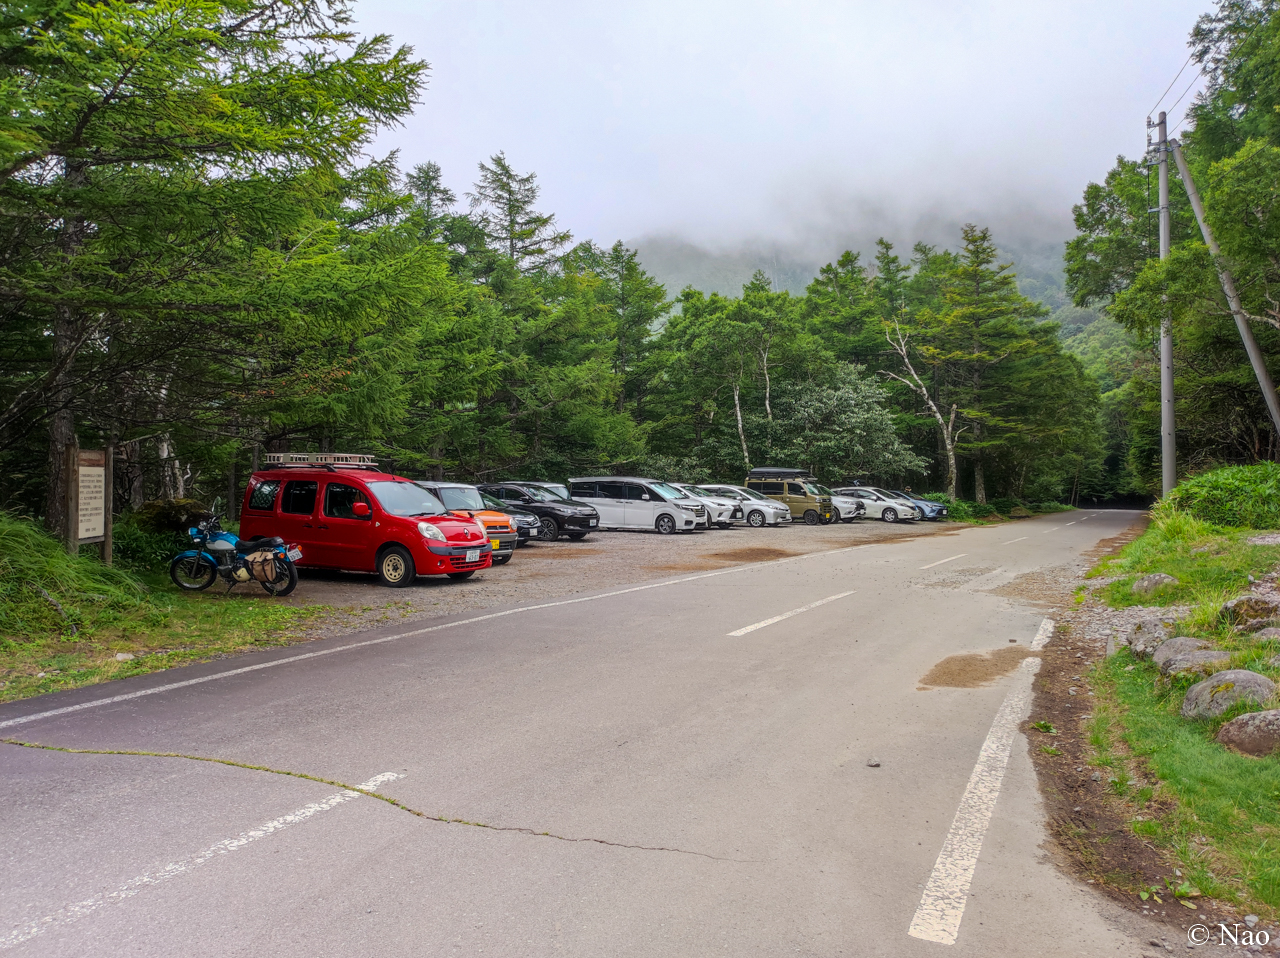
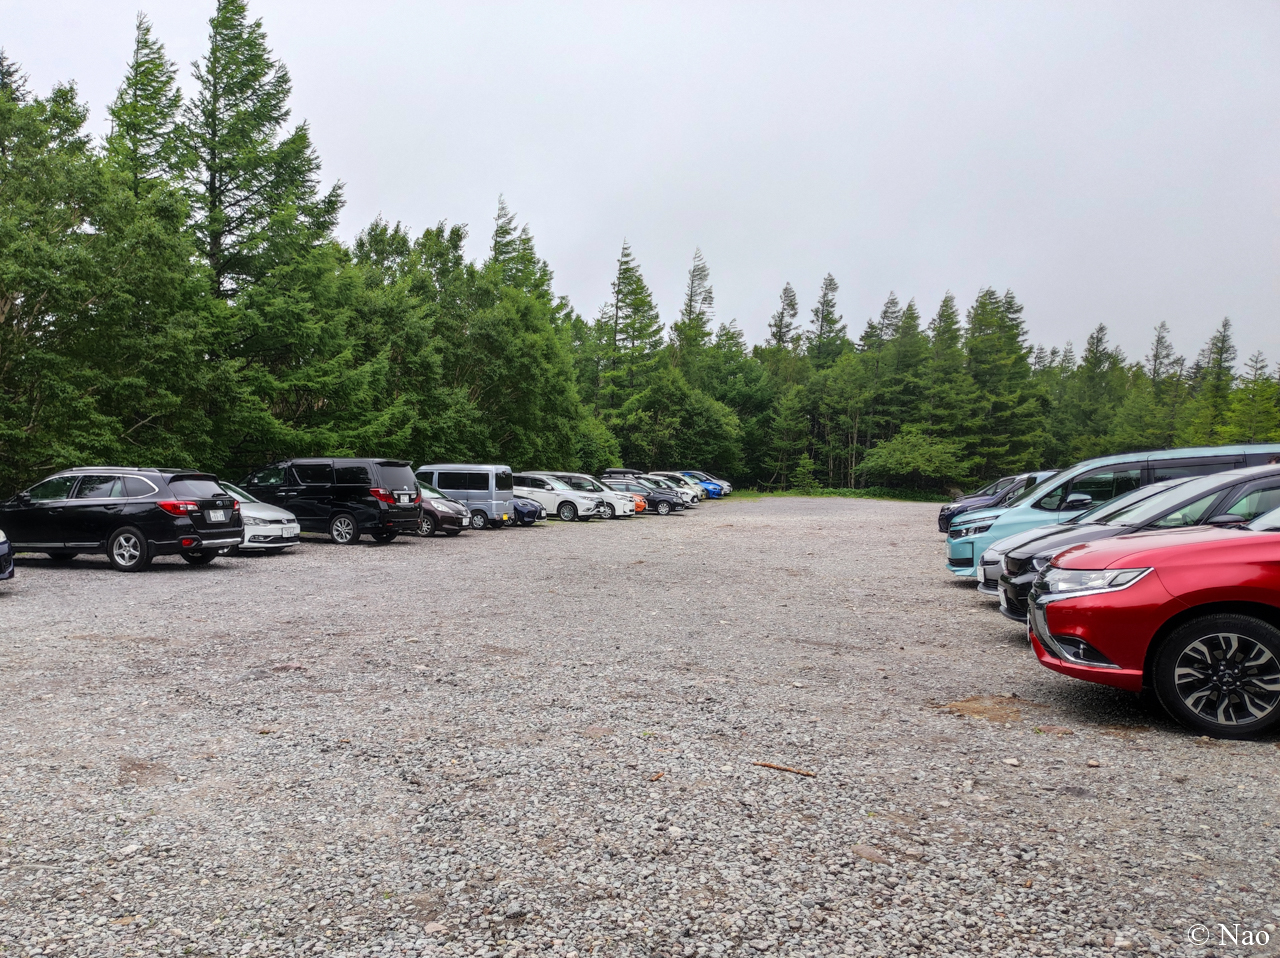
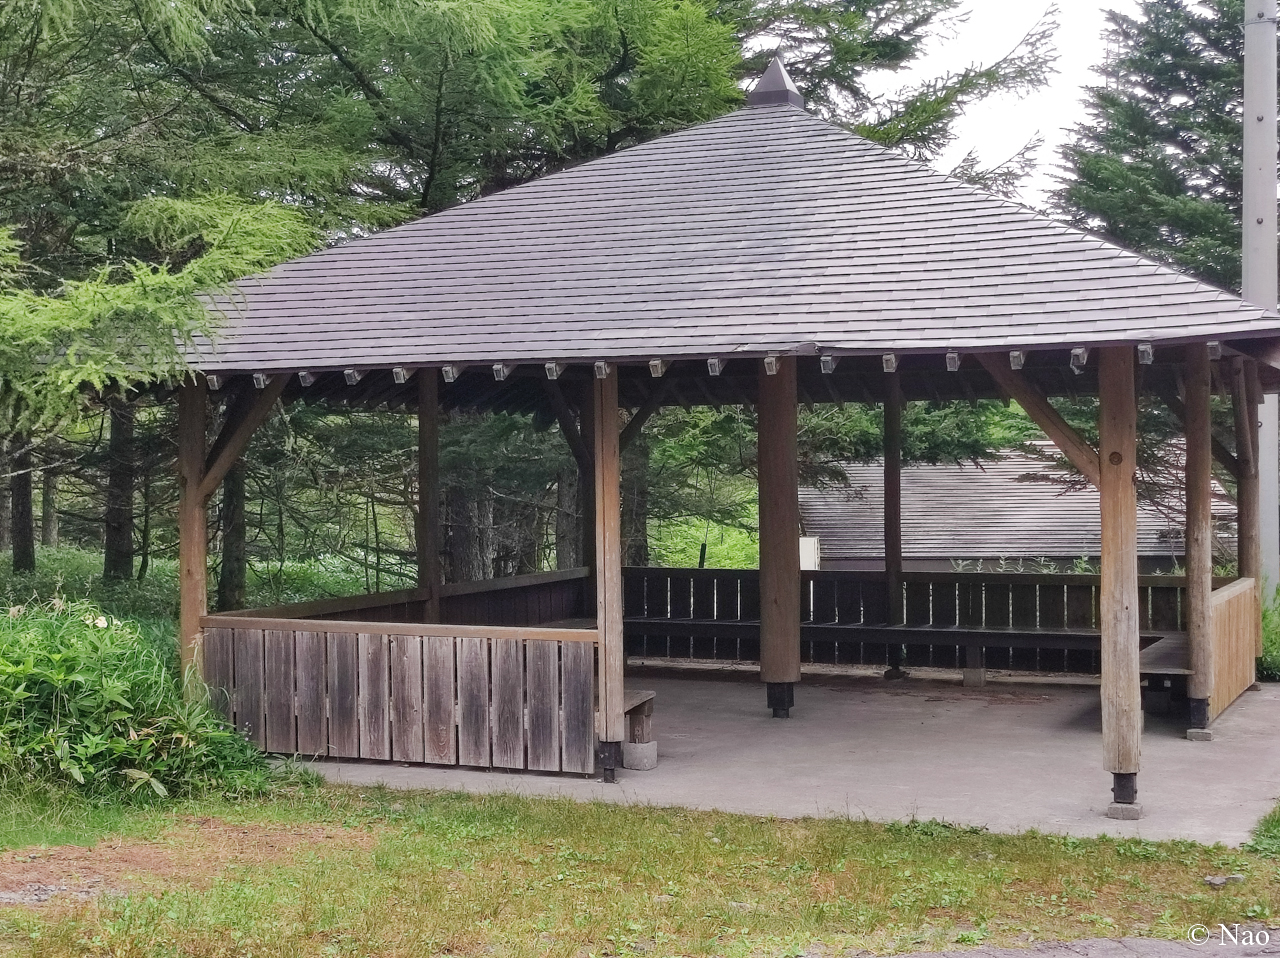
登山口の鳥居前と少し離れたところに車を止められるスペースがありました。
天気が悪いにも関わらず、かなりの数の車が止まっています。
蓼科山の人気が伺えますね。
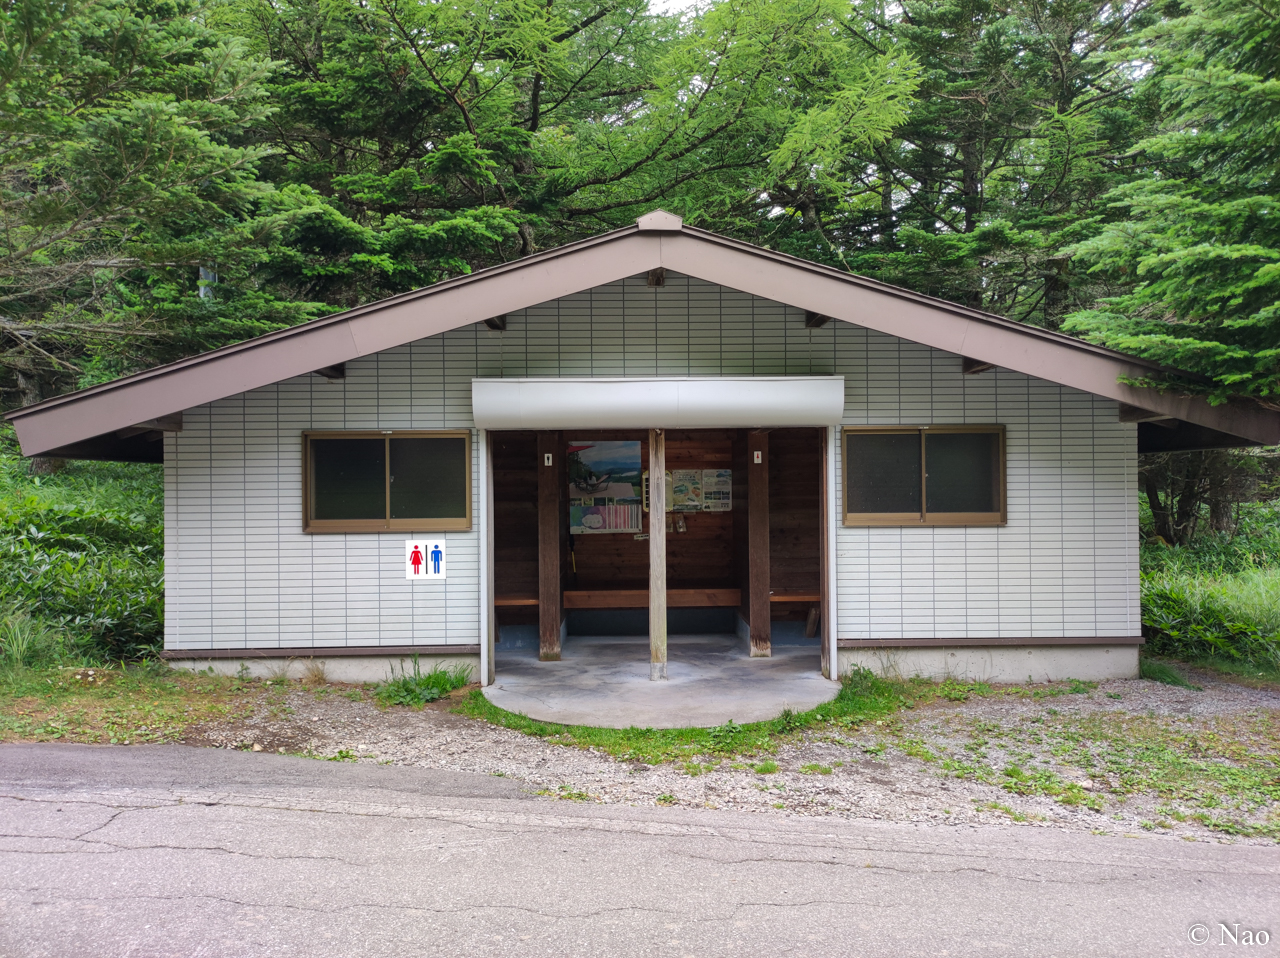
登山口にはトイレや休憩舎もあります。
水場やテント場はなかったですが、登山の起点にするにはぴったりの場所ですね。
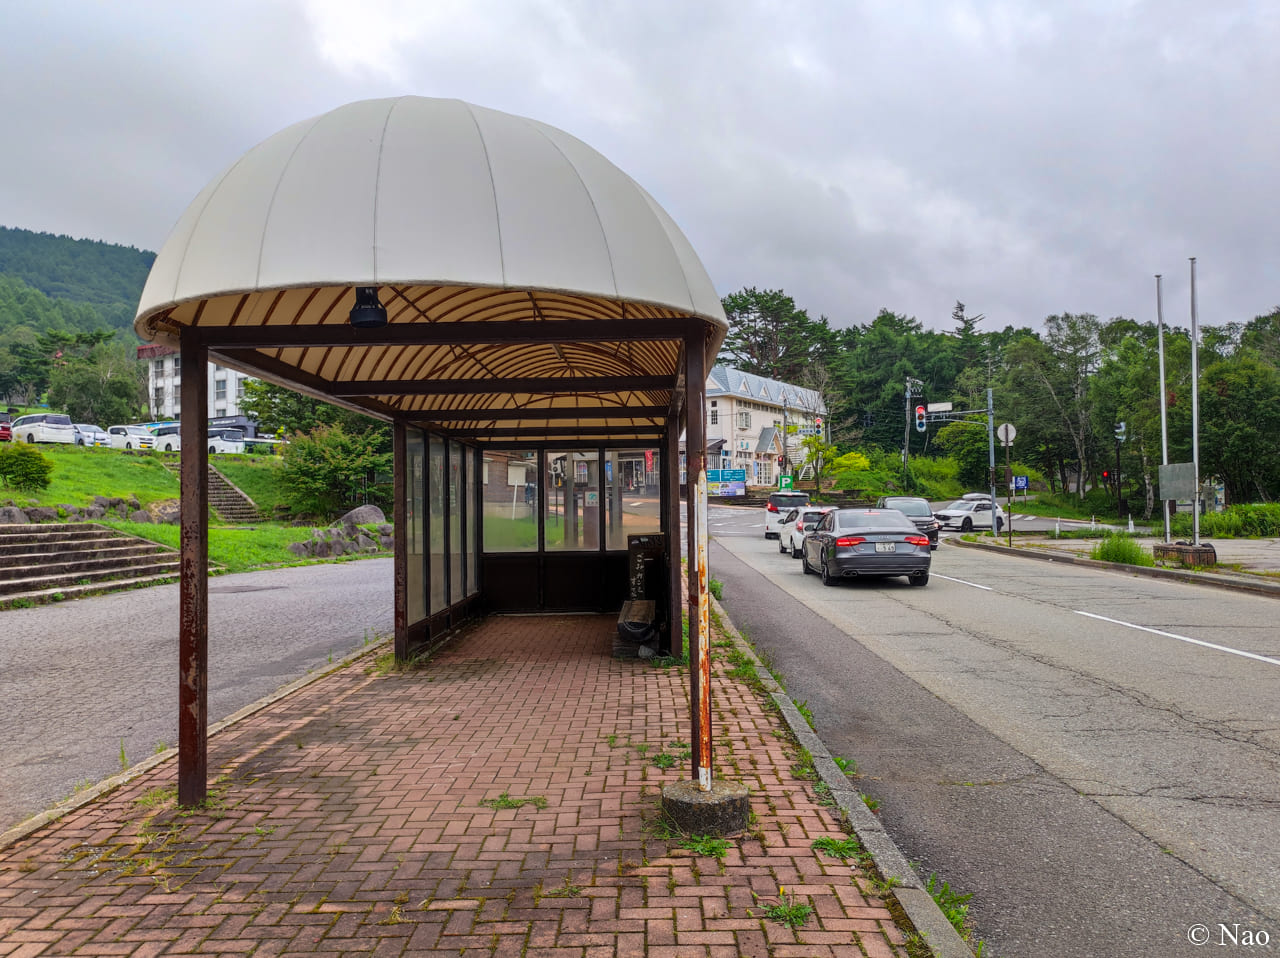
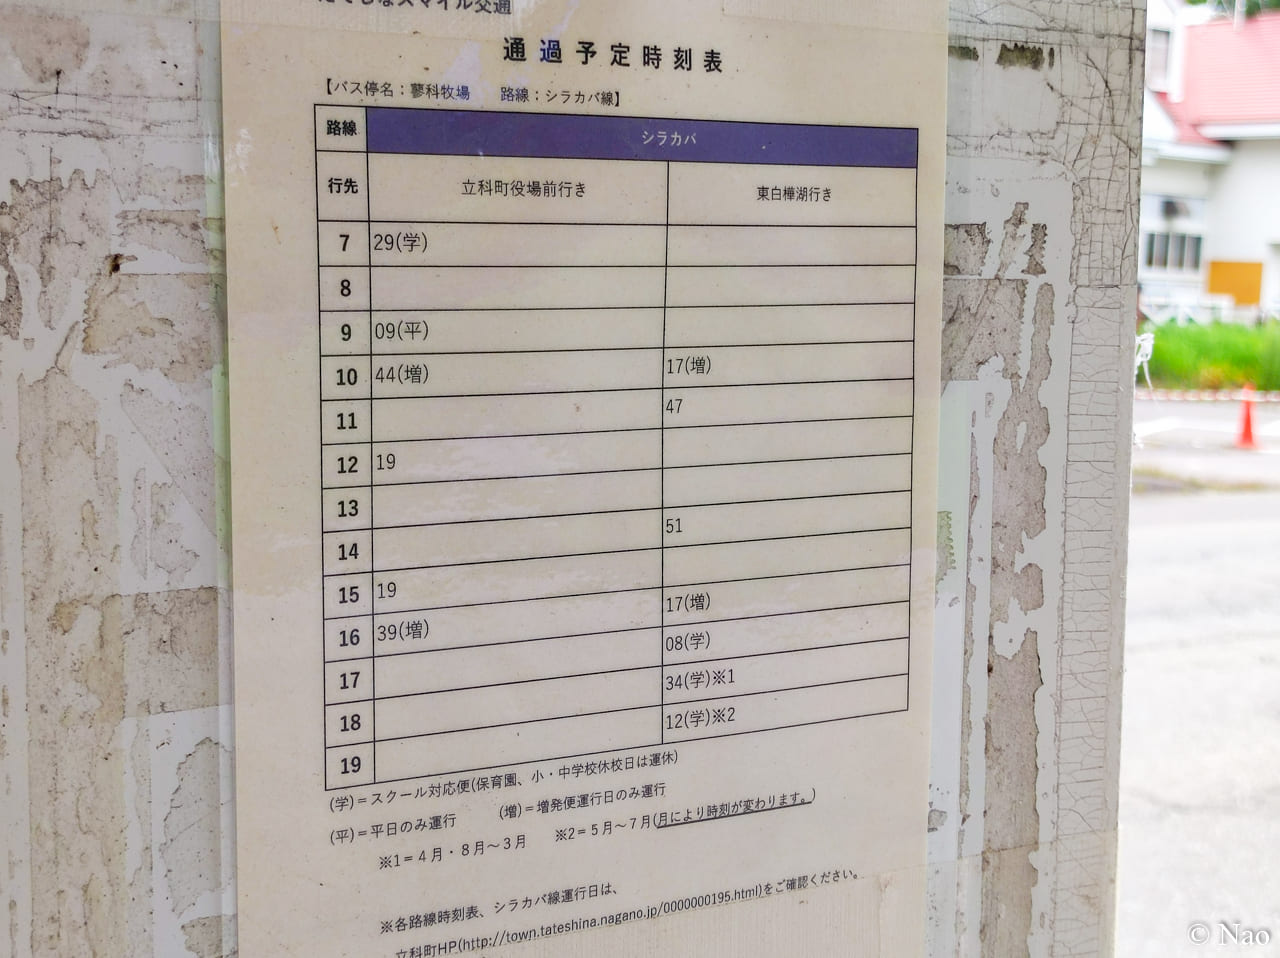
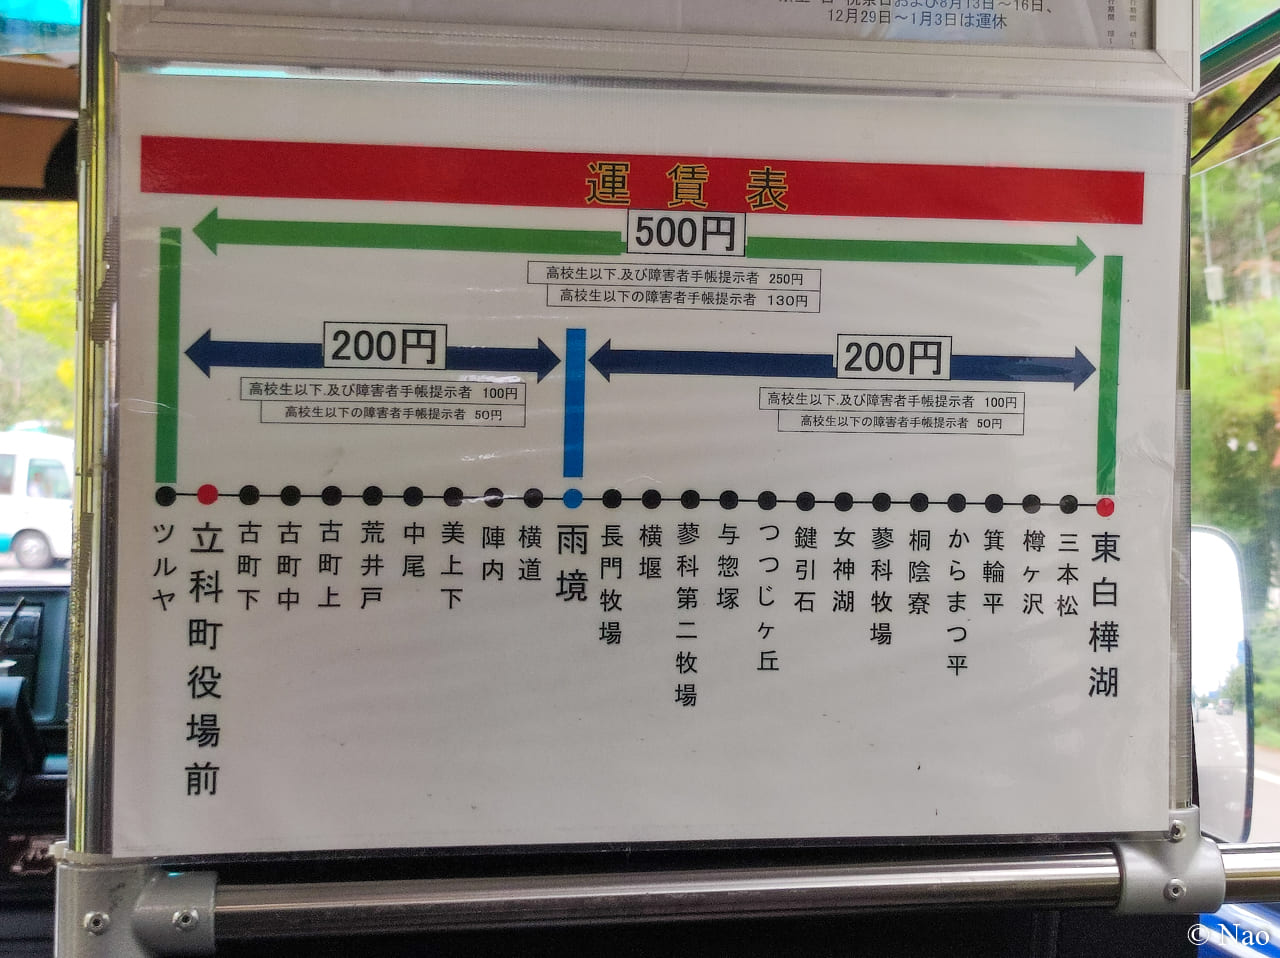
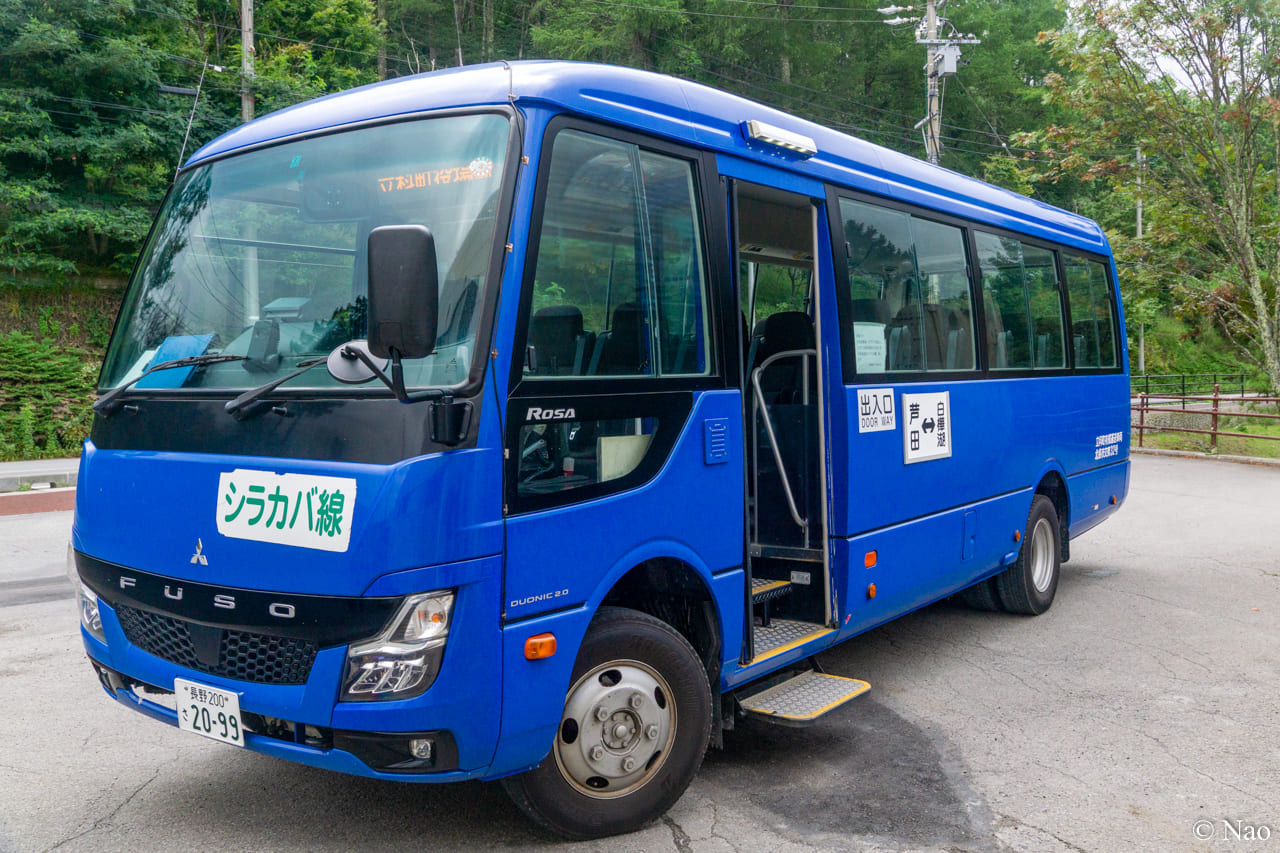
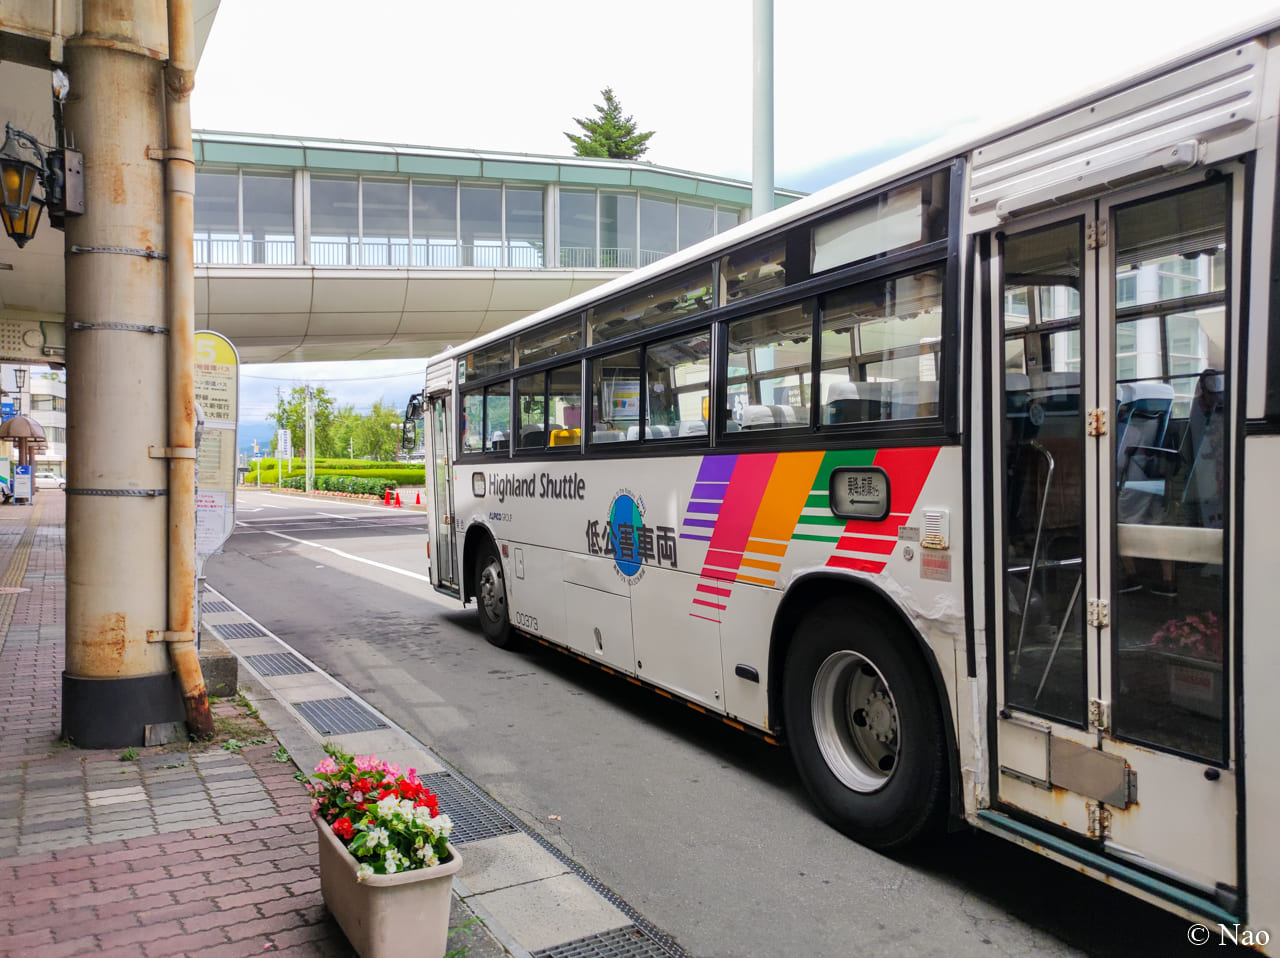
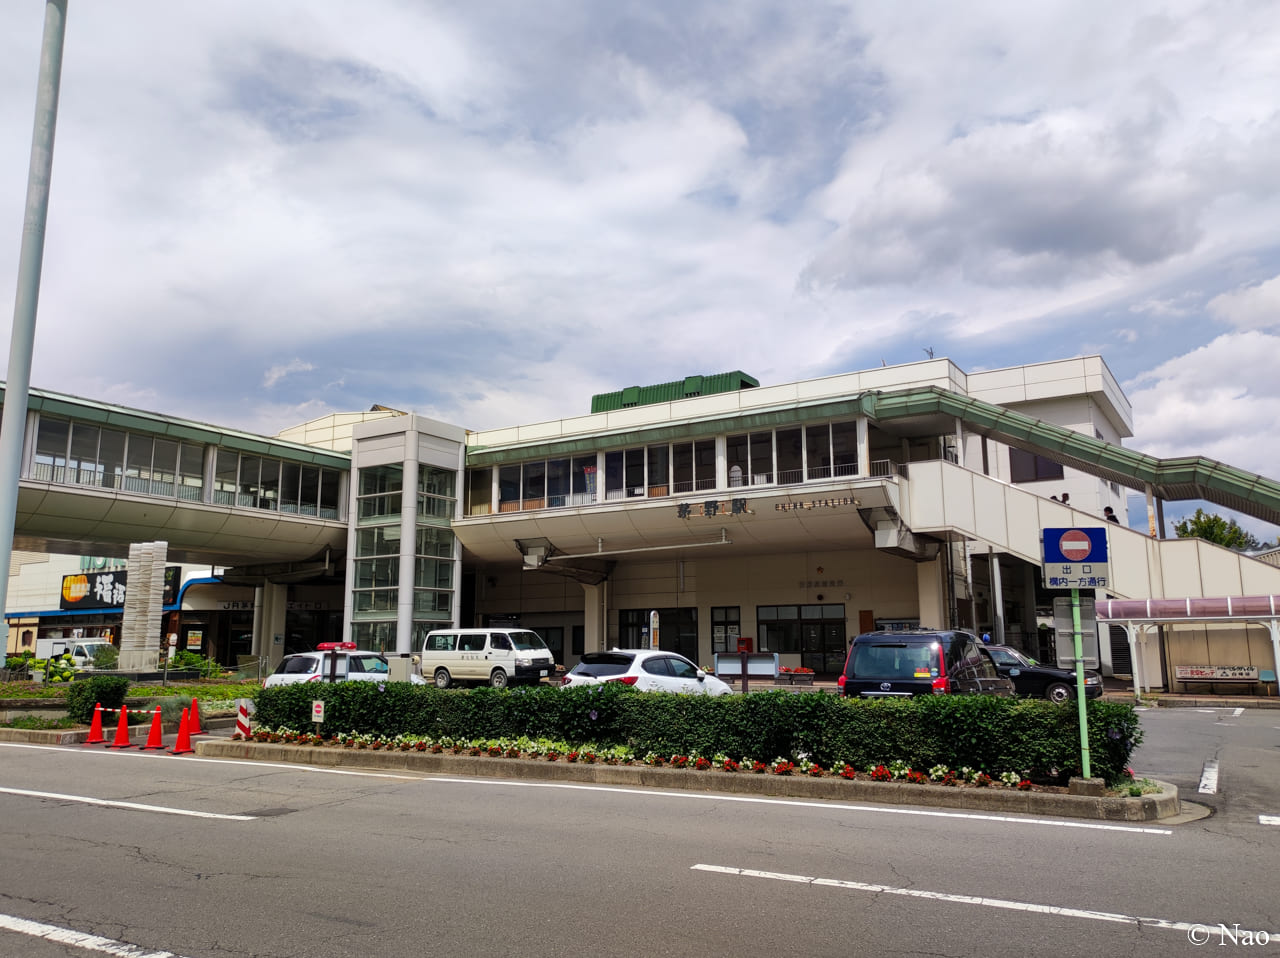
七合目登山口~茅野駅までのアクセス(バス)
ここからは、七合目登山口から茅野駅まで公共交通機関(バス)でアクセスする方法をご紹介します。
車の場合は七合目登山口の駐車場に止めればいいのですが、公共交通機関でアクセスする場合は乗り継ぎが発生するためちょっと複雑です。


 Nao
Nao